
If you’re serious about self-custody, a Ledger hardware wallet is one of the most reliable ways to protect your crypto from exchange blowups, malware, and “fat-finger” mistakes. In this guide, you’ll set up a Ledger from box to first transaction, safely, while learning the security habits pros use daily. You’ll pick the right model, initialize your device, lock down Ledger Live, run a test send/receive, then connect to DeFi the right way. Expect pragmatic steps, quick sanity checks, and a concise checklist so you avoid the classic pitfalls. By the end, you’ll control your keys with confidence and a workflow that actually scales as your portfolio grows.
Pick the Right Ledger Model for Your Goals
Why this matters: Choosing the right Ledger model affects your daily workflow, number of installed apps, Bluetooth mobility, screen readability, and how comfortable you’ll be using it regularly.
Compare Models: Nano S Plus vs. Nano X vs. Stax
- Nano S Plus: The best value. USB-C only, no Bluetooth. Supports dozens of coin apps installed at once (more than the old Nano S), solid for desktop-first users.
- Nano X: Adds Bluetooth for mobile (iOS/Android) and a larger battery. Ideal if you actively transact on the go or manage multiple chains via phone.
- Stax: Premium e‑ink touchscreen, magnetic stacking, larger display. Great for frequent signers who want better readability and a more intuitive UX.
Pro tip: If you’re mostly long-term holding with occasional moves, S Plus is plenty. If you’re active in DeFi and move between phone and desktop, go Nano X. If you sign a lot and want the best UX, Stax is worth it.
Decide Based on Use Case: Long-Term Hold, Active DeFi, or Mobile
- Long-term hold: Prioritize price and simplicity (Nano S Plus). You’ll mainly receive and seldom sign.
- Active DeFi: You’ll install multiple apps and sign frequently. Nano X or Stax improves comfort and speed.
- Mobile-first: Bluetooth (Nano X) pairs seamlessly with Ledger Live Mobile: less cable dependency.
What You’ll Need: Device, USB-C Cable, Computer or Phone, Pen and Paper
- Ledger device (S Plus, X, or Stax)
- Official USB-C cable (or quality equivalent)
- Computer (Windows/macOS/Linux) or phone (iOS/Android)
- Pen and high-quality paper for the 24-word recovery phrase (or specialty metal backup if you prefer)
Bold move, fewer regrets, set yourself up right from the start.
Pre‑purchase and setup safety checklist
- Buy only from ledger.com or vetted retailers listed on Ledger’s site: avoid marketplaces and “sealed but cheap” offers.
- On delivery, inspect shrink-wrap, tamper evidence, and device condition. Ledger devices never come pre-initialized.
- Before connecting, visit only https://ledger.com via a fresh browser tab (not ad links). Bookmark it.
- Download Ledger Live from ledger.com, verify the URL, and keep your OS and browser updated.
- Prepare an offline place to write the 24 words, never type or photograph them.
- Clear your desk: remove unnecessary USB devices, close suspicious tabs, and disable screen recorders before setup.
- Plan a test transaction budget (e.g., $5–$20) and small network fees for your first run.
Unbox, Inspect, and Verify Authenticity
Why this matters: Authentic hardware and software are your first line of defense against supply-chain tampering and phishing.
Check Packaging and Seal: Avoid Third-Party Sellers
- Packaging should be clean, professionally printed, and undamaged. No pre-written recovery cards, if you see words already filled in, stop and return it.
- The device should power on normally and walk you through initialization: it should not display a pre-set PIN or recovery words.
Red flag checklist: pre-initialized words, damaged box, a non-official leaflet asking for your 24 words, or sellers pushing you to “activate online.”
Download Ledger Live From the Official Site (ledger.com)
- Navigate directly to https://ledger.com and download Ledger Live for your OS.
- Install and open Ledger Live, then head to Settings > About to confirm version and authenticity notes.
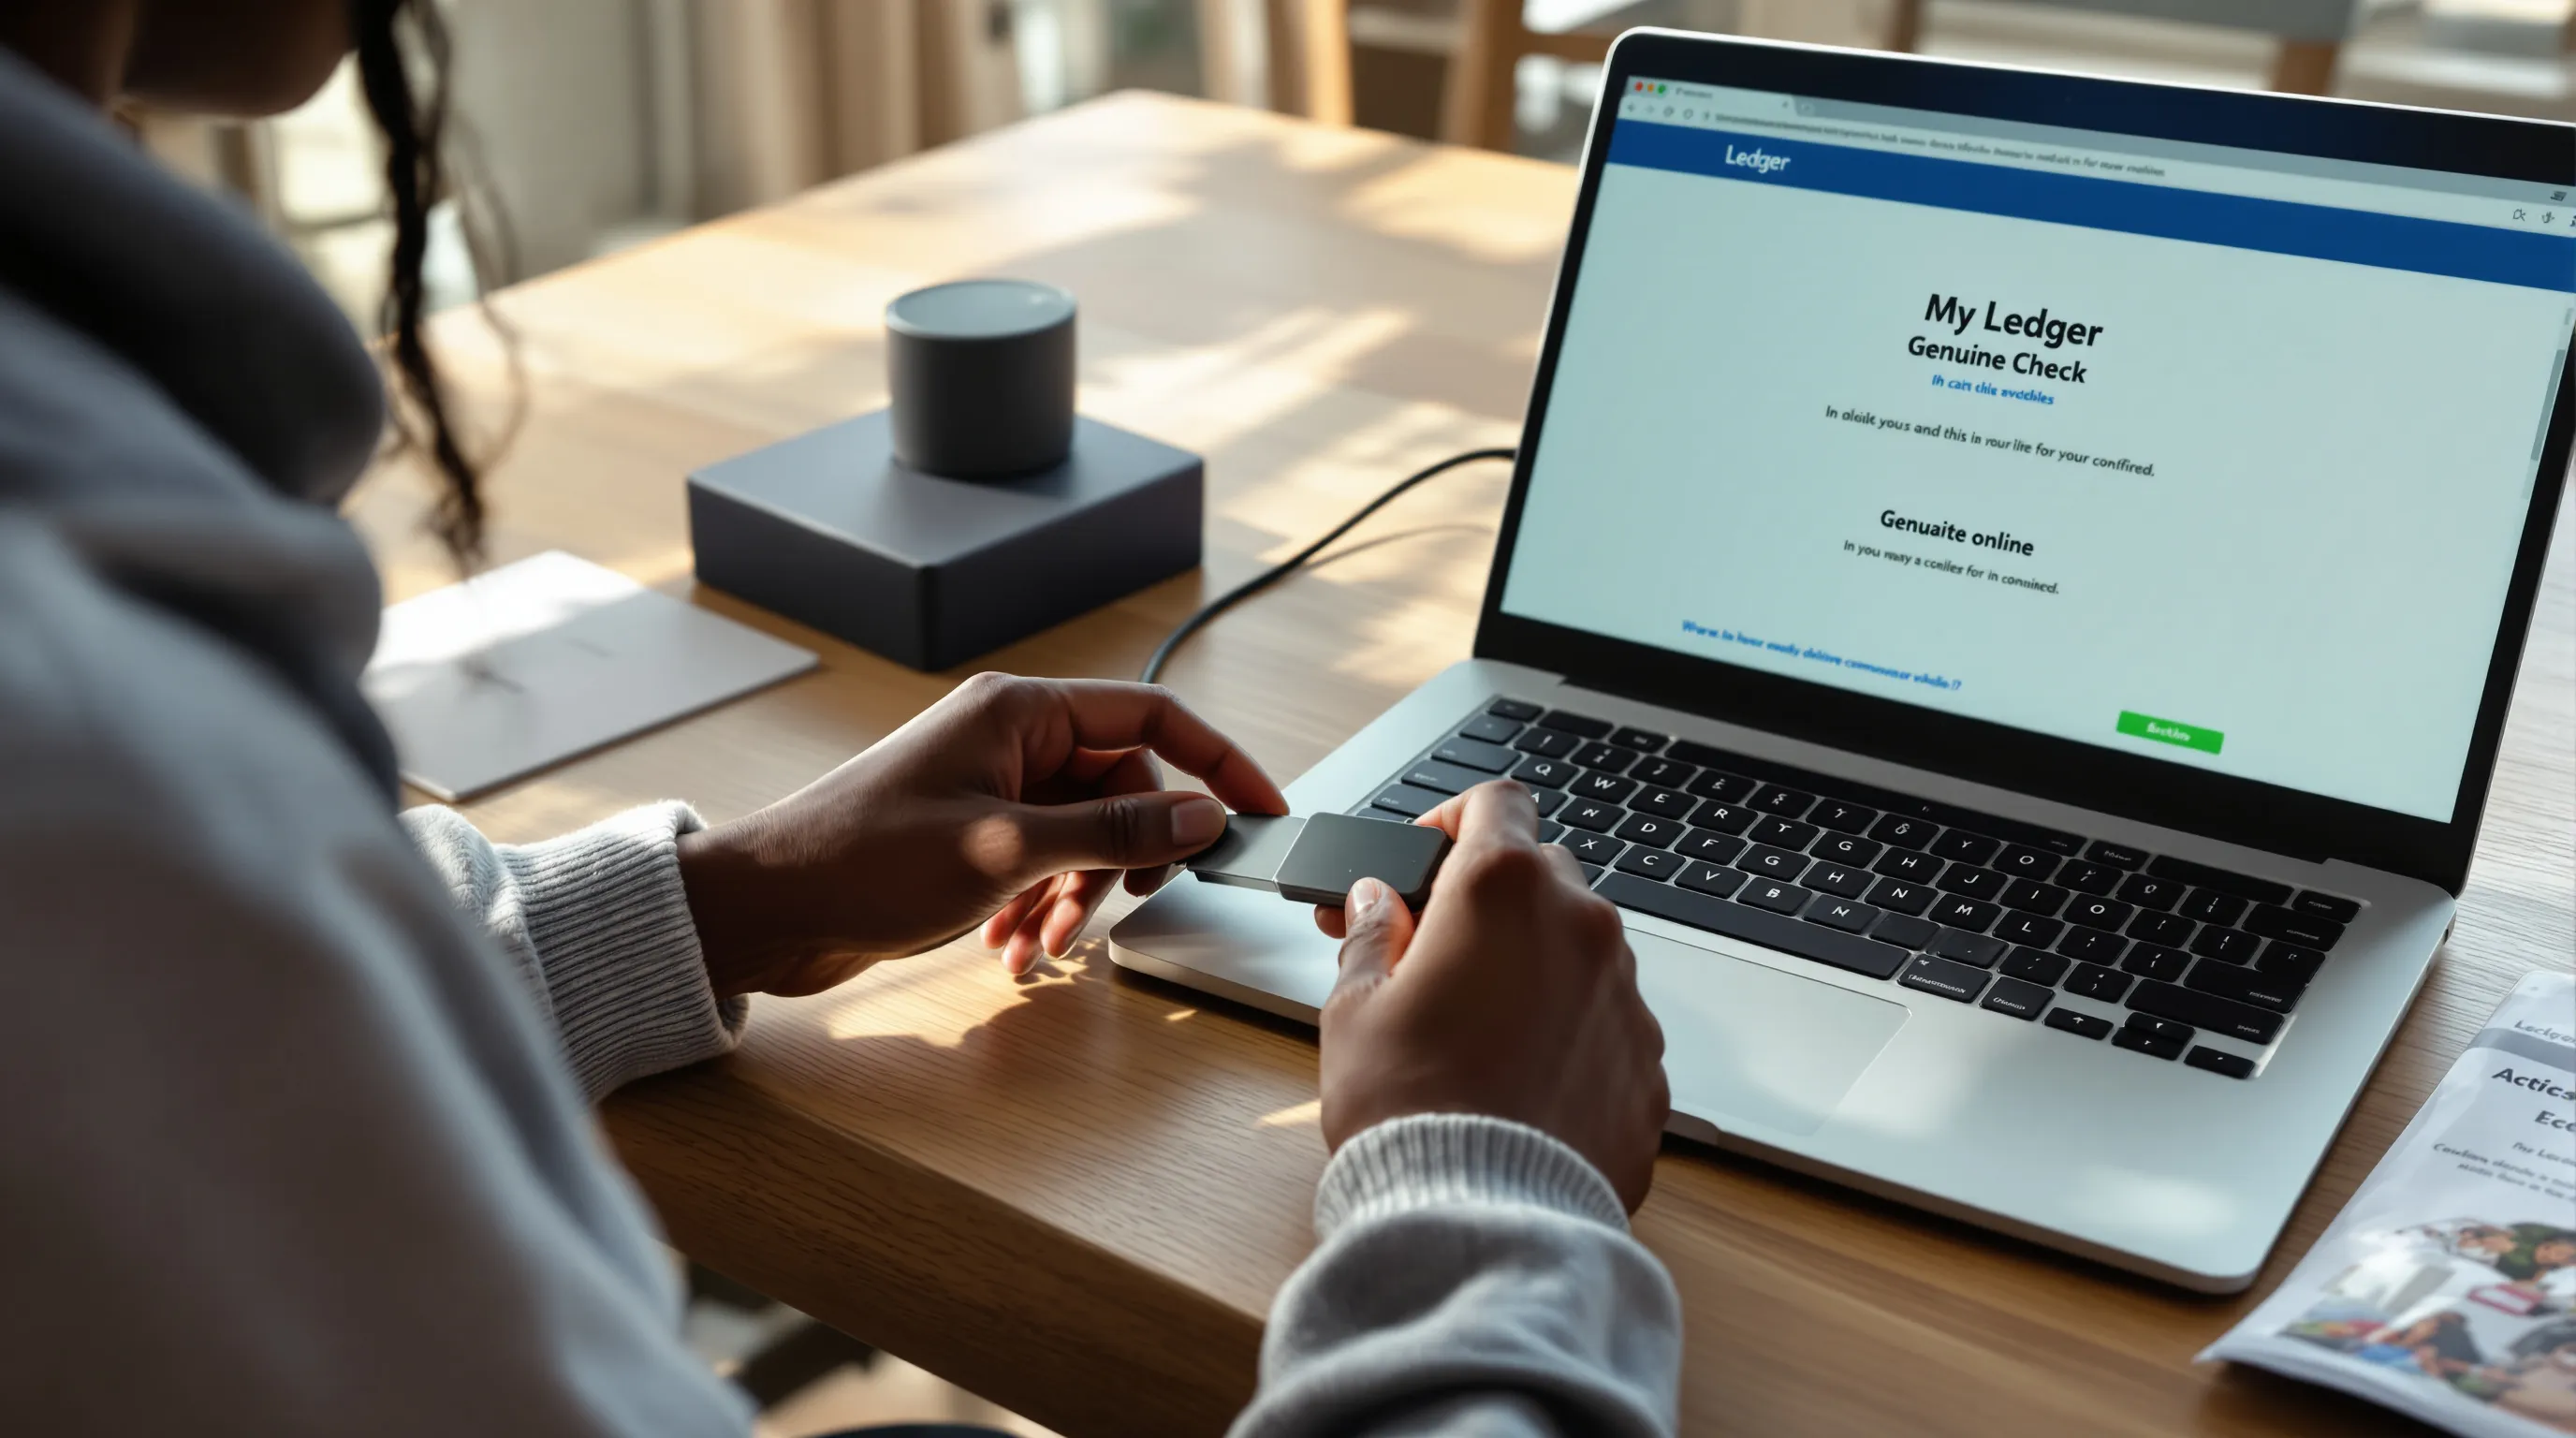
Run the Genuine Check in Ledger Live
- Connect your Ledger via USB (or Bluetooth for Nano X) and unlock if prompted.
- In Ledger Live, go to My Ledger and run the Genuine Check. Follow the on-device prompts.
- If the check fails, do not proceed. Contact Ledger Support through links inside Ledger Live or the official site, never via random DMs.
Initialize Your Ledger: PIN, Recovery Phrase, and Firmware
Why this matters: The PIN protects local device access: the 24-word secret recovery phrase is the ultimate backup that restores your funds across devices. Firmware updates patch bugs and add support for chains and features.
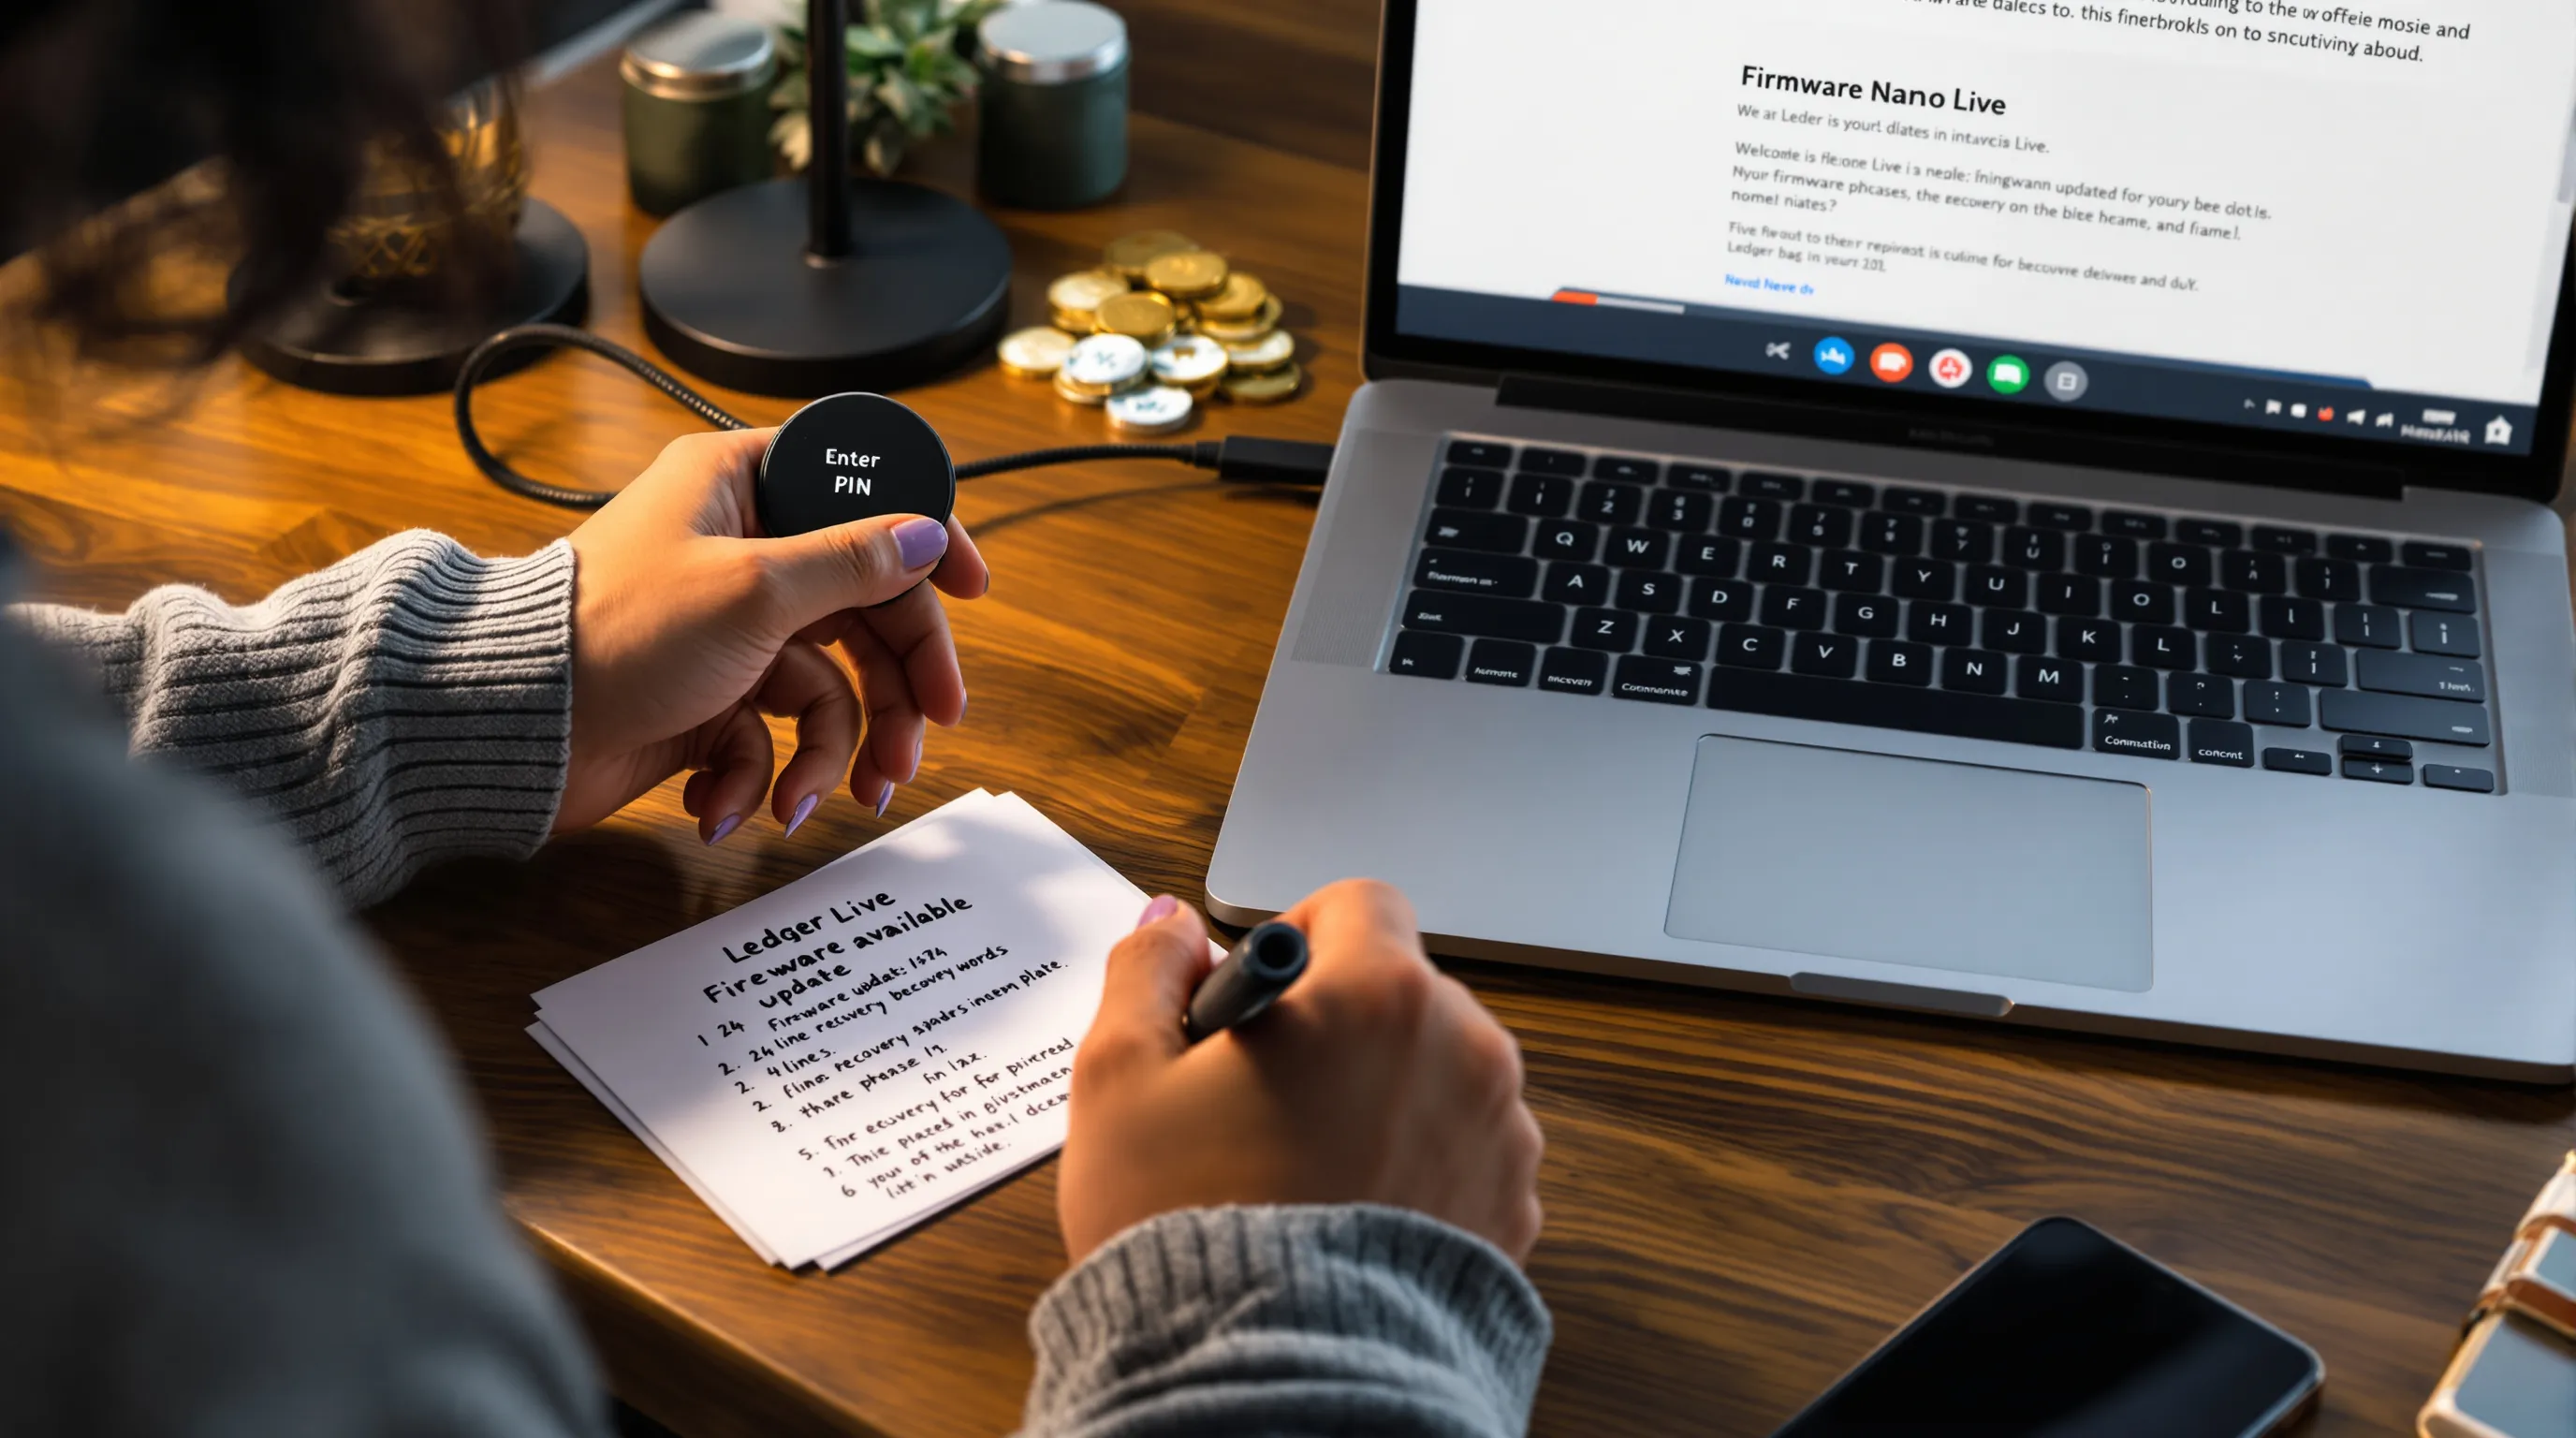
Create and Confirm a Strong PIN (6–8 Digits)
- Pick a non-obvious 6–8 digit PIN. Avoid birthdates or repeating patterns.
- Enter and confirm on-device. Practice the button controls: never share this PIN.
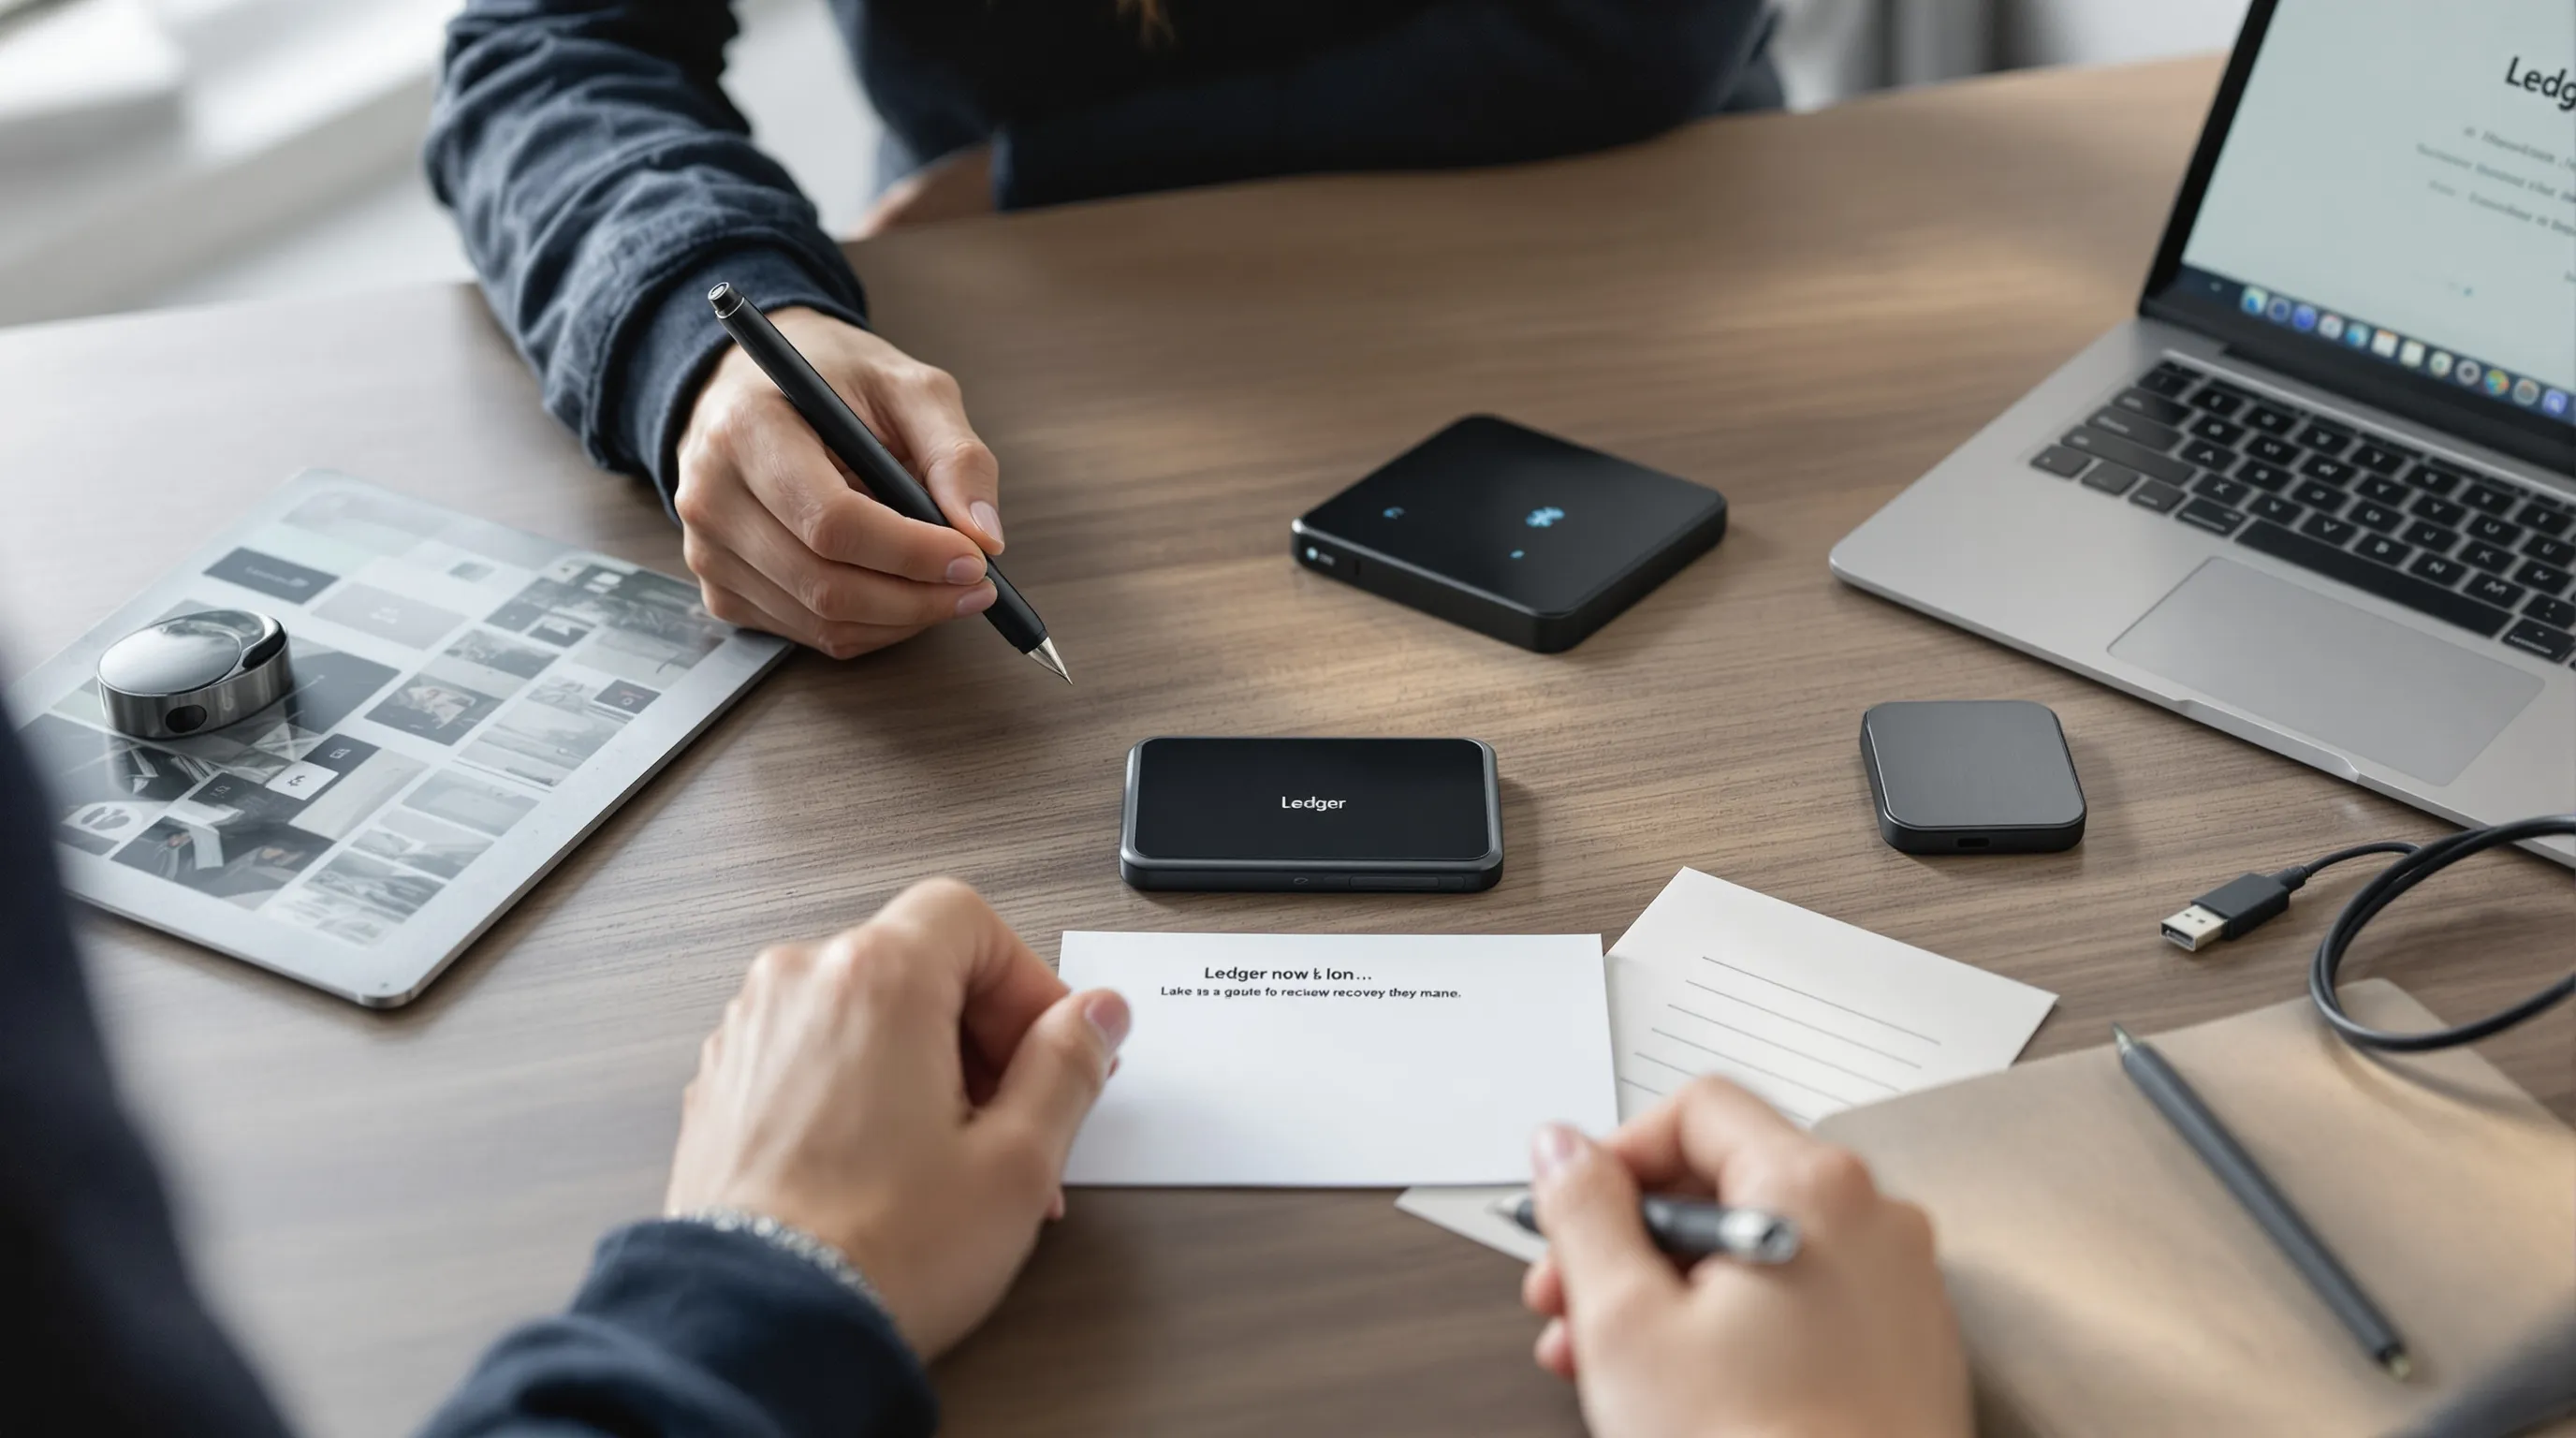
Write Down the 24-Word Secret Recovery Phrase (Offline Only)
- The device will display 24 words. Write them down in order on paper or a metal backup. Double-check spelling.
- Never type the words into a phone, PC, password manager, cloud notes, or take photos. Offline only.
Verify the Phrase on-Device: Store It Securely (Not in the Cloud)
- Complete the on-device quiz/verification to confirm you wrote the words correctly.
- Store the written phrase in a secure, discreet location. Consider splitting duplicates and keeping them in two separate places.
Update Device Firmware Safely via Ledger Live
- In Ledger Live, check for firmware updates. Read the release notes.
- Ensure your recovery phrase is written and verified before any update.
- Keep the device connected and powered: don’t interrupt updates. If prompted, confirm on-device.
Install Ledger Live, Secure Settings, and Add Accounts
Why this matters: Ledger Live is your control center. Hardening it reduces attack surface, while account labels and app installs keep your portfolio organized.
Harden Your Environment: OS Updates, Anti-Malware, USB Hygiene
- Update your OS and browser first. Run a reputable anti-malware scan.
- Use known-good USB cables/ports: avoid public charging stations.
- Consider creating a separate user profile on your computer for crypto tasks.
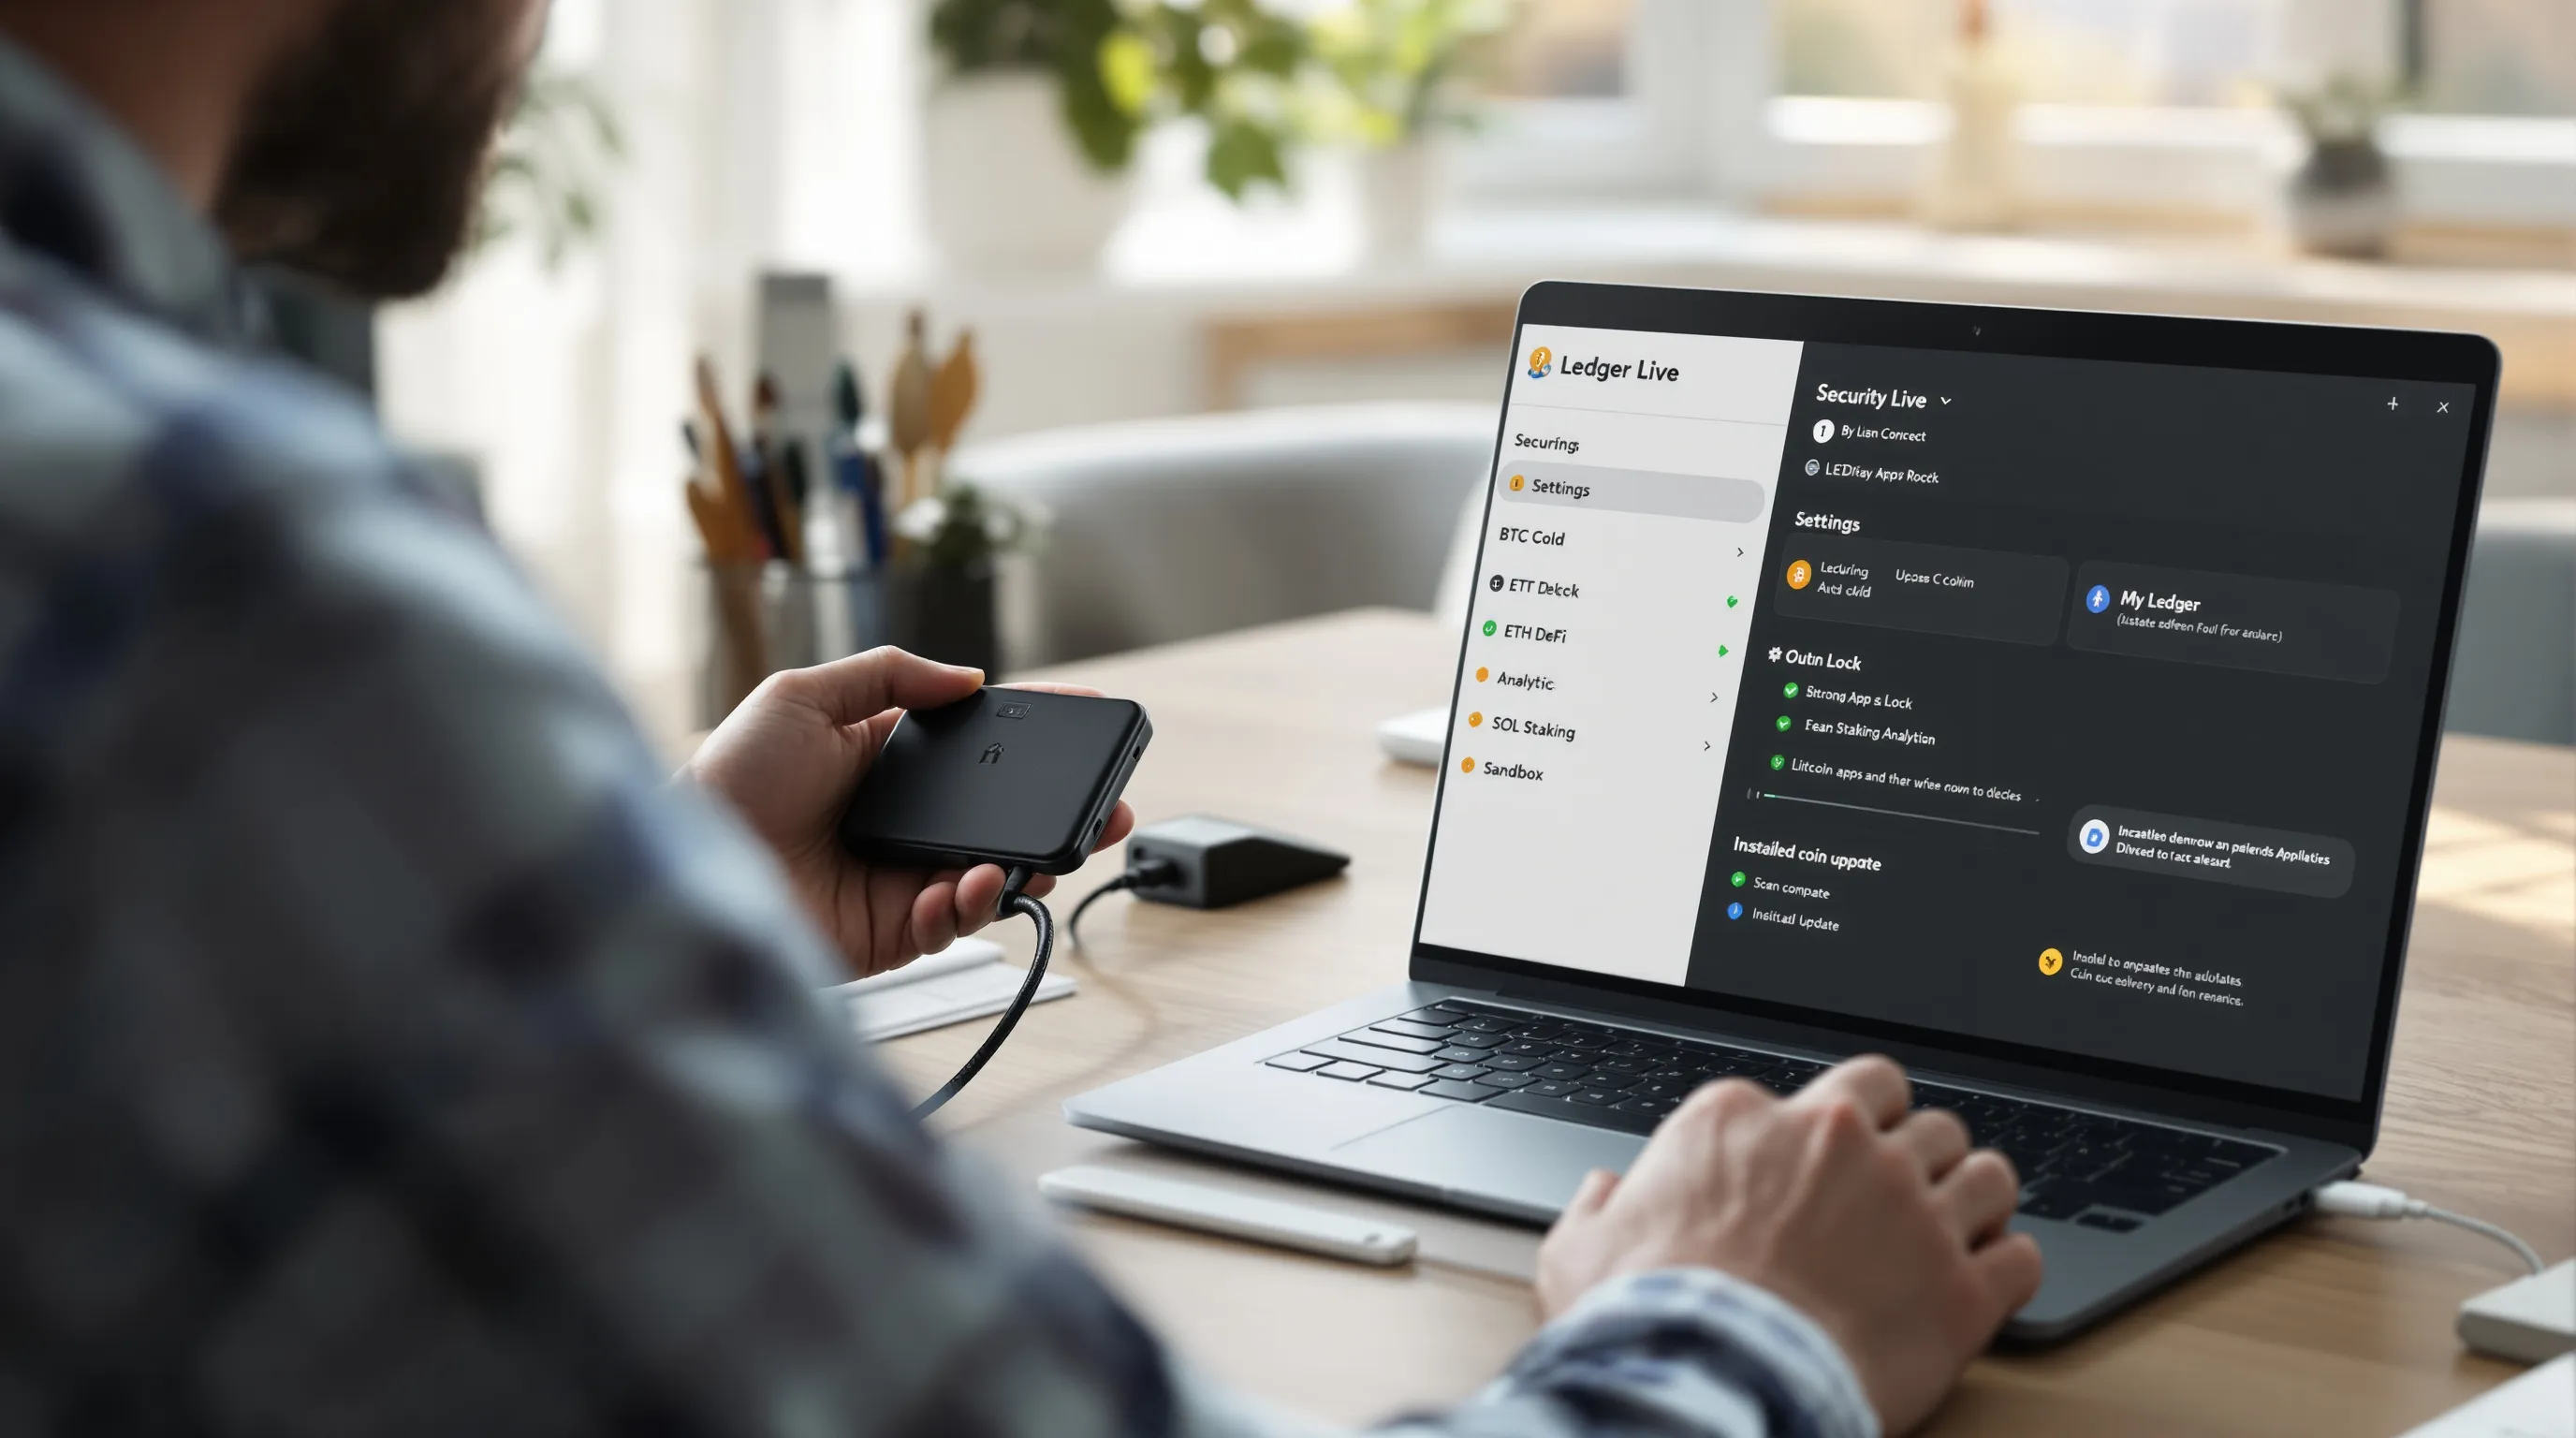
Set a Password Lock for Ledger Live and Enable Auto-Lock
- In Ledger Live Settings > Security, set a strong app password.
- Enable auto-lock after a short idle window and require password on launch.
- Disable analytics/diagnostics if you prefer minimal data sharing.
Install Coin Apps on the Device (BTC, ETH, SOL, etc.)
- Go to My Ledger and install the apps for the chains you use (Bitcoin, Ethereum, Solana, etc.).
- Uninstalling an app doesn’t remove funds: accounts are derived from your 24 words.
Add Accounts in Ledger Live and Label Clearly
- In Accounts, click Add Account, select the relevant chain, and follow prompts while the app is open on the device.
- Name accounts by purpose: “BTC Cold,” “ETH DeFi,” “SOL Staking.” Clear labels prevent mistakes later.
- Optionally, create a dedicated “Sandbox” account on each chain for first-time dApp tests.
Receive and Send a Test Transaction
Why this matters: A small dry run confirms your addresses, fees, and workflow, before you move meaningful funds.
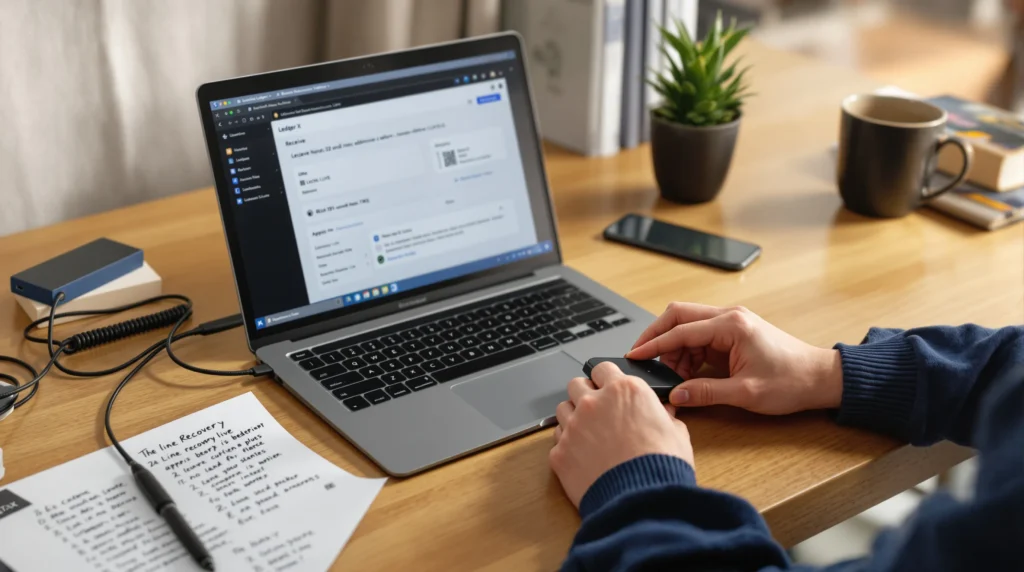
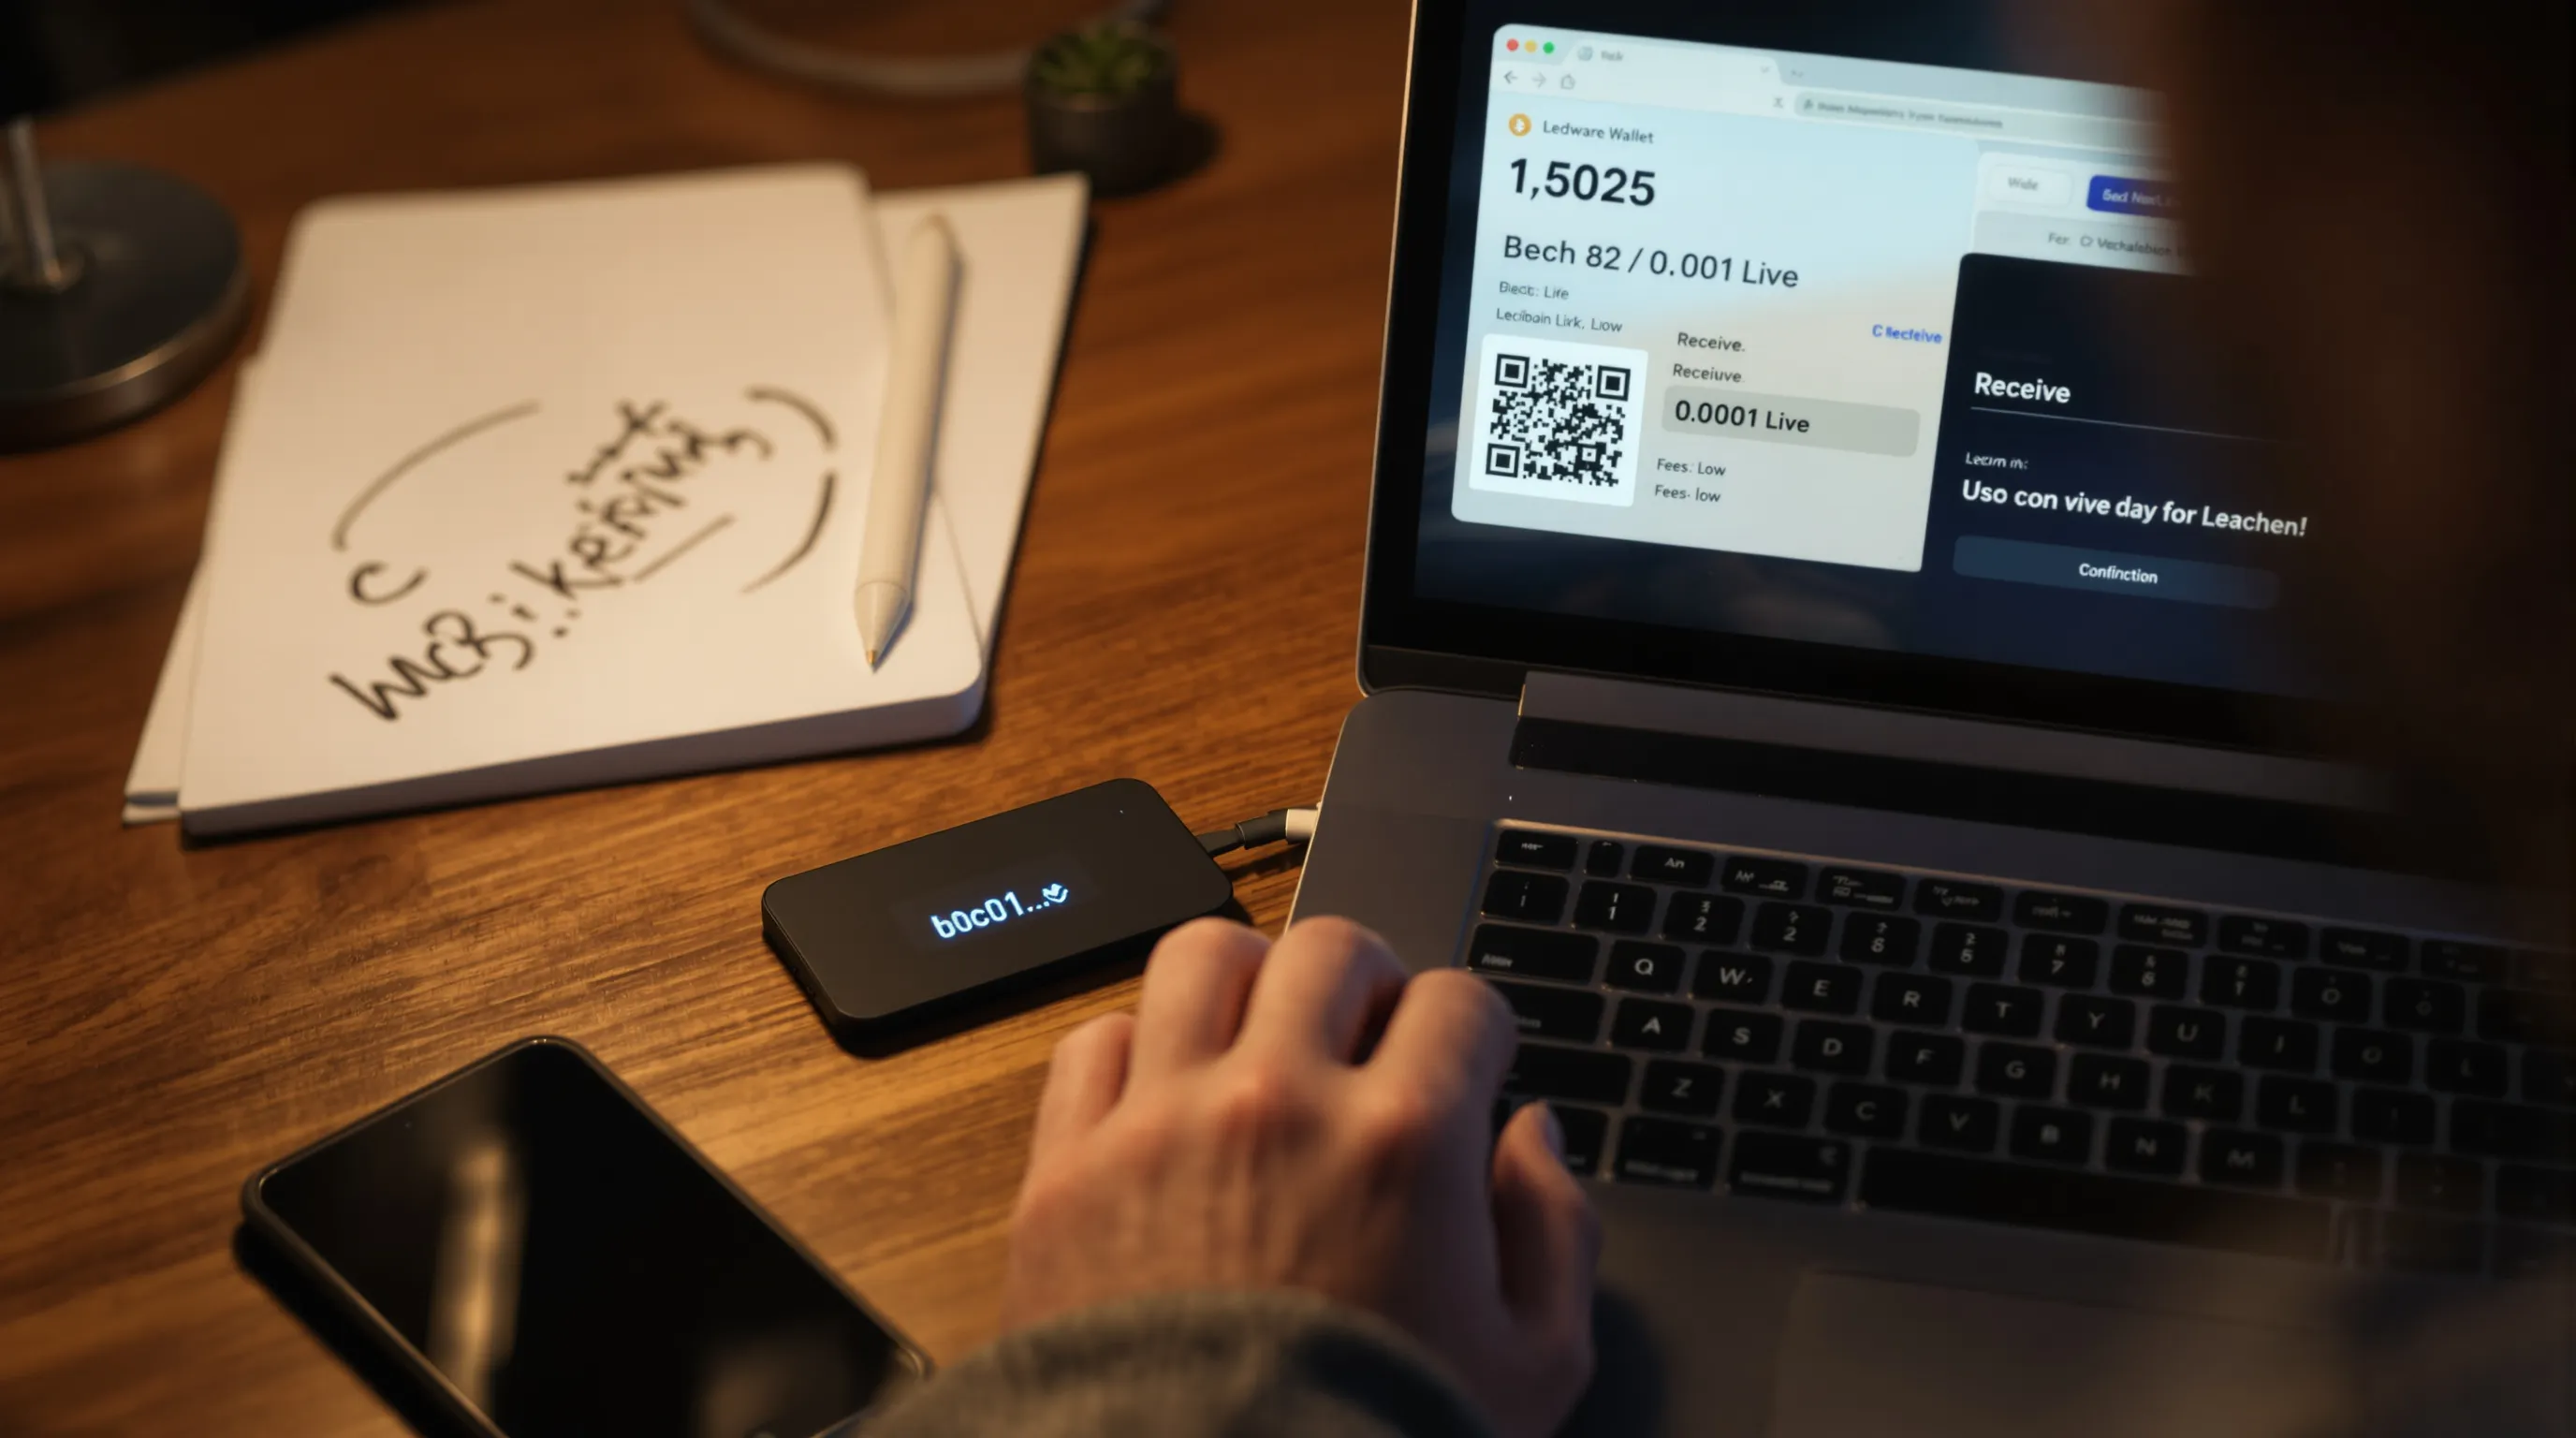
Generate a Receive Address and Verify on the Device Screen
- In Ledger Live, select an account > Receive. Open the matching app on-device.
- Compare the full address on your computer to the one on your Ledger screen. Trust the device screen over the PC.
Receive a Small Amount: Wait for Confirmations
- Send a tiny amount from an exchange or another wallet to your verified address.
- Wait for network confirmations (e.g., 1–3 for BTC, 12+ blocks for ETH depending on risk tolerance). Confirm the balance appears in Ledger Live.
Send a Small Outbound Transaction: Review Details on-Device
- From Ledger Live, click Send. Paste a known-good address you control (or your sandbox account).
- On-device, review the recipient, amount, network, and fees. Approve only if everything matches.
Document the Flow and Fees: Confirm Everything Matches
- Screenshot or note txids, fees paid, and confirmation times.
- Verify your expected address format (e.g., BTC bech32 vs. legacy) and that the recipient received funds.
- If something looks off, stop and investigate before proceeding with larger amounts.
Connect to DeFi and Web3 the Safe Way
Why this matters: Most losses happen during Web3 interactions, malicious contracts, phishing, or blind signing. A few guardrails go a long way.
Use Ledger Live Buy/Swap/Stake Where Possible
- Prefer Ledger Live-integrated services for buying, swapping, and staking where supported: you’ll see on-device prompts that are easier to verify.
- For unsupported assets, move carefully to external wallets.
Connect Ledger to MetaMask (Ethereum and EVM Chains)
- In MetaMask, create or use a fresh profile dedicated to hardware accounts.
- Connect Hardware Wallet > Ledger. Open the Ethereum app on your device and select the account(s) to import.
- Pin the imported addresses and label them clearly (e.g., “Ledger ETH Main”).
Use WalletConnect or Ledger Extension: Verify URLs and Contracts
- Only connect to dApps via bookmarked URLs. Avoid search ads and Discord links.
- Use WalletConnect or the official Ledger Extension where available to keep the private key on-device.
- Before approving, read the on-device prompt. Look for function names like “approve,” “permit,” or “setApprovalForAll,” which can grant broad token access.
Enable Blind Signing Only When Needed: Read On-Device Prompts
- Keep blind signing off by default. Enable it temporarily only if a dApp requires it and you understand the risk.
- If the prompt looks garbled or unfamiliar, cancel, disconnect, and verify the contract from multiple sources.
Backup, Maintenance, and Troubleshooting
Why this matters: Good habits now prevent panic later. Backups are your lifeline, and a few maintenance routines keep everything smooth.
Backup Best Practices: Duplicate Phrase, Fire/Water-Resistant Storage, Passphrase Option (Advanced)
- Make a second physical backup of your 24 words and store it in a separate secure location.
- Consider a metal backup to resist fire and water damage.
- Advanced: A 25th-word passphrase creates a hidden wallet that’s plausible-deniable. Only use if you fully understand the implications and can store it safely (never write passphrase with the main 24 words).
Routine Maintenance: App/Firmware Updates, Address Book Hygiene, Device Auto-Lock
- Check Ledger Live monthly for app and firmware updates: read notes and update when stable.
- Maintain a vetted address book: send test amounts when paying new recipients.
- Set short device auto-lock timers and keep the PIN private.
Common Issues: USB Not Detected, App Sync Errors, “Account Empty,” Derivation Paths
- USB not detected: Try a different cable/port, avoid hubs, and test on another computer.
- App sync errors: Clear cache in Ledger Live (Settings > Help) and restart.
- “Account empty” even though funds: Confirm you’re on the right chain/app and derivation path: re-add the account.
Safe Fixes: Reinstall Coin App (Funds Safe), Clear Cache, Use Different Cable/Port
- It’s safe to uninstall/reinstall coin apps: your funds remain tied to the 24 words.
- Clear Ledger Live cache after updates. Use high-quality cables and avoid low-power ports.
Phishing Defense: Bookmark Official Links, Never Share Your 24 Words, Verify Transactions On-Device
- No support agent, dApp, or “airdrop” needs your 24 words, ever.
- Bookmark ledger.com, support.ledger.com, and your key dApps: never follow unsolicited links.
- Always trust the device screen over the computer. If it doesn’t match, cancel.
Conclusion: Your Crypto, Your Keys—Next Steps
You’ve set up a Ledger, verified it’s genuine, locked down Ledger Live, and executed clean test transactions. That’s the core playbook for secure self-custody.
Scale Up Securely: More Accounts, Staking, and a Second Backup Device
- Add accounts per chain and purpose, stake within Ledger Live where supported, and consider a second Ledger as a warm standby.
When to Consider Advanced Features (Passphrase, Multisig With Third-Party Wallets)
- If your holdings grow, explore passphrases or multisig via Specter, Sparrow, or Casa, after practicing with small amounts.
Further Reading and Security Checklists to Revisit Quarterly
- Quarterly, re-run the safety checklist, update firmware/apps, and re-audit DeFi approvals. Keep learning: Ledger’s official docs, security blogs, and chain-specific best practices will compound your edge.