
Bridging from Ethereum to Arbitrum lets you keep Ethereum’s security while paying a fraction of the fees. If you’re exploring DeFi, airdrops/points, perps, or low-latency apps, moving assets to Arbitrum is a smart, cost-efficient play. In this guide, you’ll learn exactly how to bridge crypto from Ethereum to Arbitrum, what to use, how to price it, and how to avoid the common pitfalls that burn time and money. By the end, you’ll complete a test transfer, verify it on-chain, and be ready to deploy capital, without overpaying or taking unnecessary risk.
Understand What Bridging Does and Why Use Arbitrum
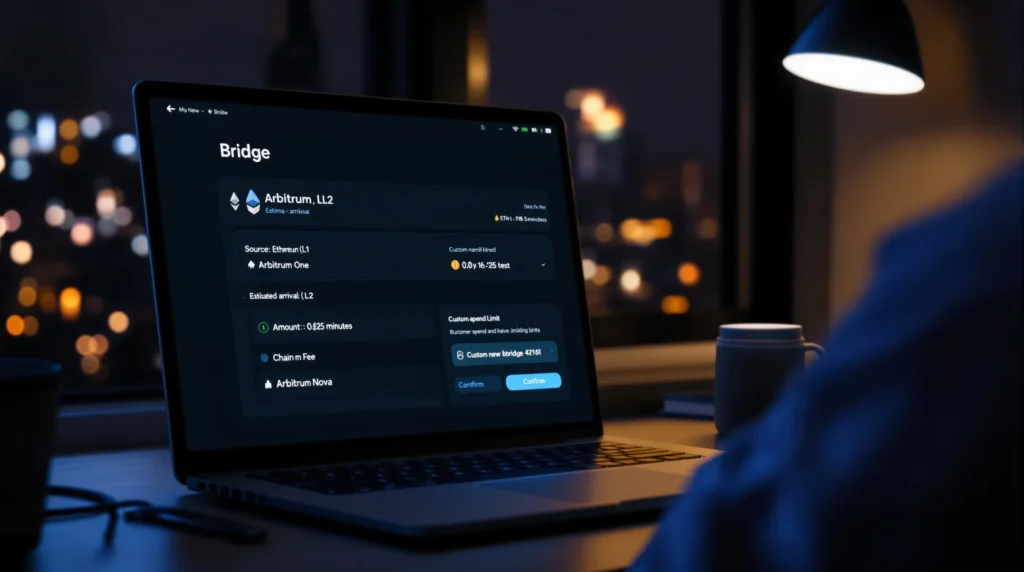
Bridging moves assets from Ethereum (Layer 1) to Arbitrum (Layer 2), where transactions settle faster and cheaper while inheriting Ethereum’s security. You’ll interact with a bridge contract that locks/mints or messages funds across chains.
Know the Flow: L1 to L2 Deposits vs. L2 to L1 Withdrawals
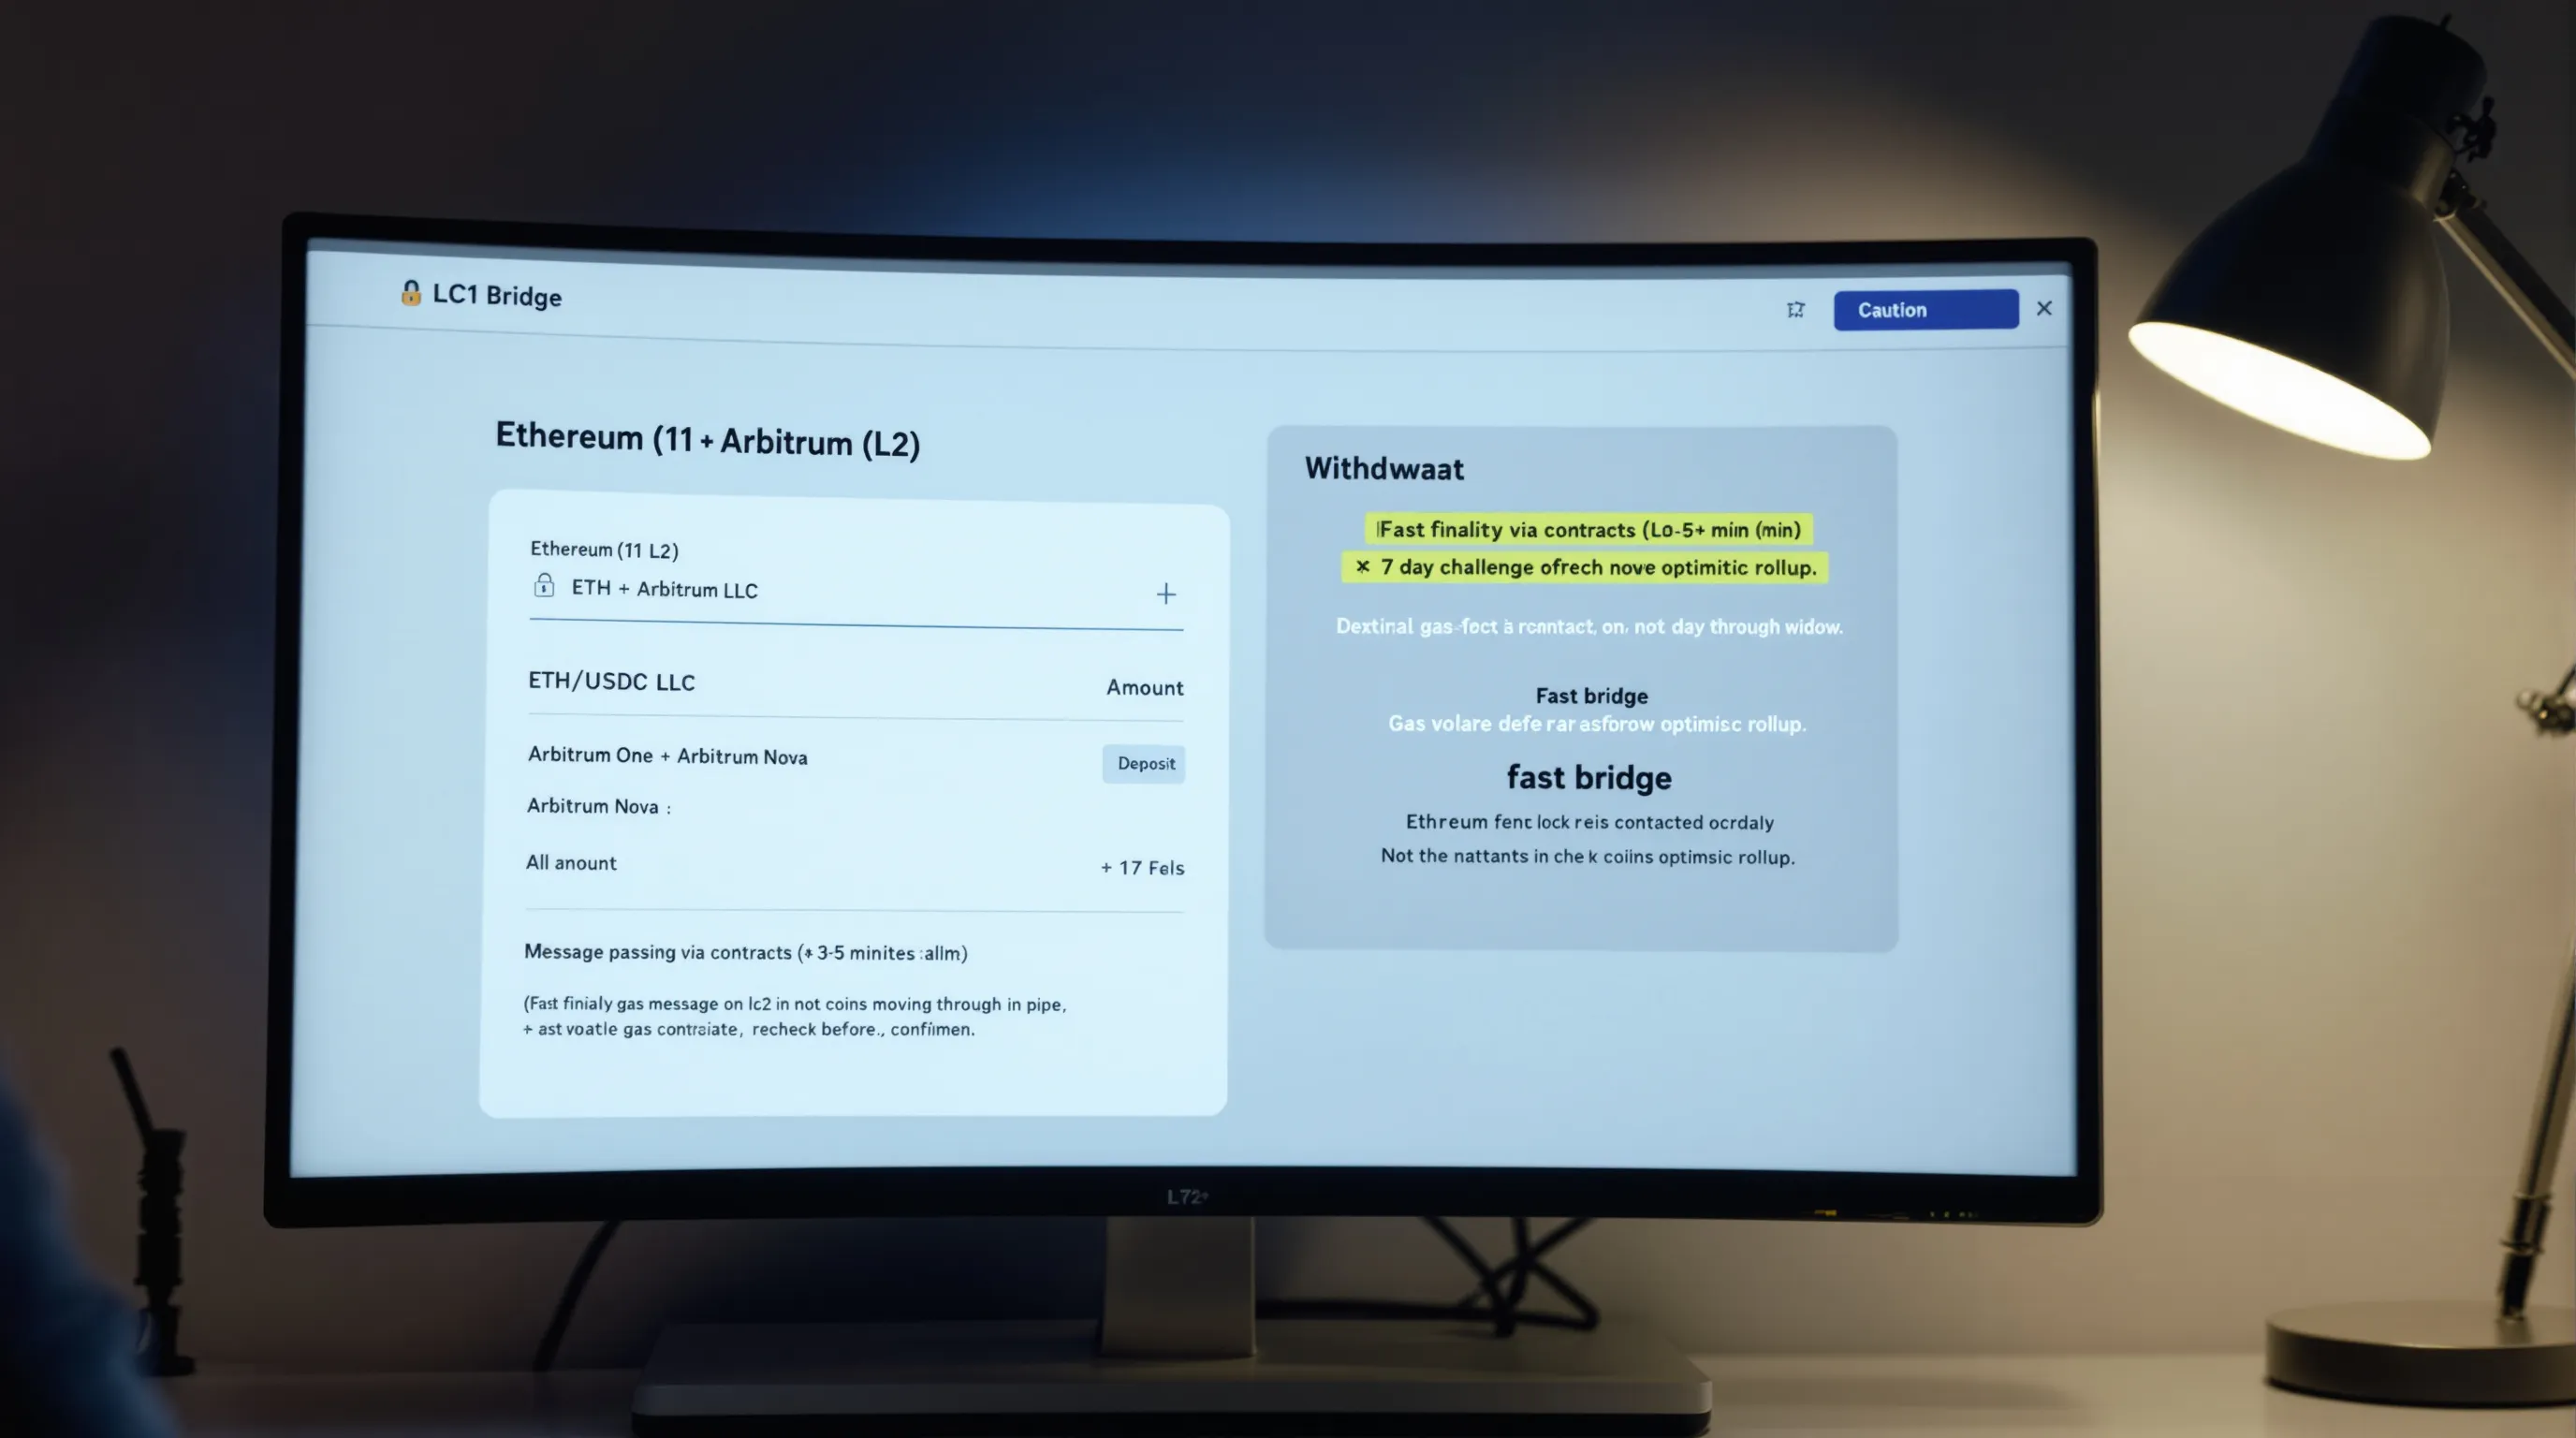
- L1 → L2 (Deposits): Typically fast finality on Arbitrum (a few minutes), depending on bridge type. You pay Ethereum gas once.
- L2 → L1 (Withdrawals): The official route has a ~7-day challenge window due to optimistic rollup security. Fast bridges can accelerate this for a fee/liquidity.
- Message passing: You’re not “sending coins through a pipe”, you’re interacting with contracts managing state across chains.
Arbitrum One vs. Arbitrum Nova: Which Network Fits Your Use Case
- Arbitrum One: General-purpose DeFi, perps, lending, and most liquidity. If you’re unsure, choose One.
- Arbitrum Nova: Ultra-low-cost for gaming, social, and microtransactions. Lower fees but typically less DeFi liquidity.
- Many wallets treat them as separate networks. Add both if you plan to use Nova-native apps.
Key Risks: Contract Risk, Bridge Risk, MEV, and Fee Volatility
- Contract/bridge risk: Bugs or misconfiguration can impact funds. Prefer audited, battle-tested bridges.
- MEV/sandwiching: If a bridge involves swaps, your approval/bridge tx can be MEV-targeted on L1. Use reasonable slippage and avoid peak congestion.
- Fee volatility: Ethereum gas can spike rapidly. Always recheck gas before confirming.
- Phishing/impersonation: Only use official links and verify token contracts on Arbiscan/Etherscan.
Prepare Your Wallet and Networks
Proper setup prevents most headaches.
Install/Use MetaMask and Connect a Hardware Wallet (Optional but Recommended)
- Install MetaMask (browser or mobile) and import/create a wallet.
- For larger balances, connect a hardware wallet (Ledger, Trezor) via MetaMask for transaction approvals.
- Ensure your seed phrase is offline and backed up securely.
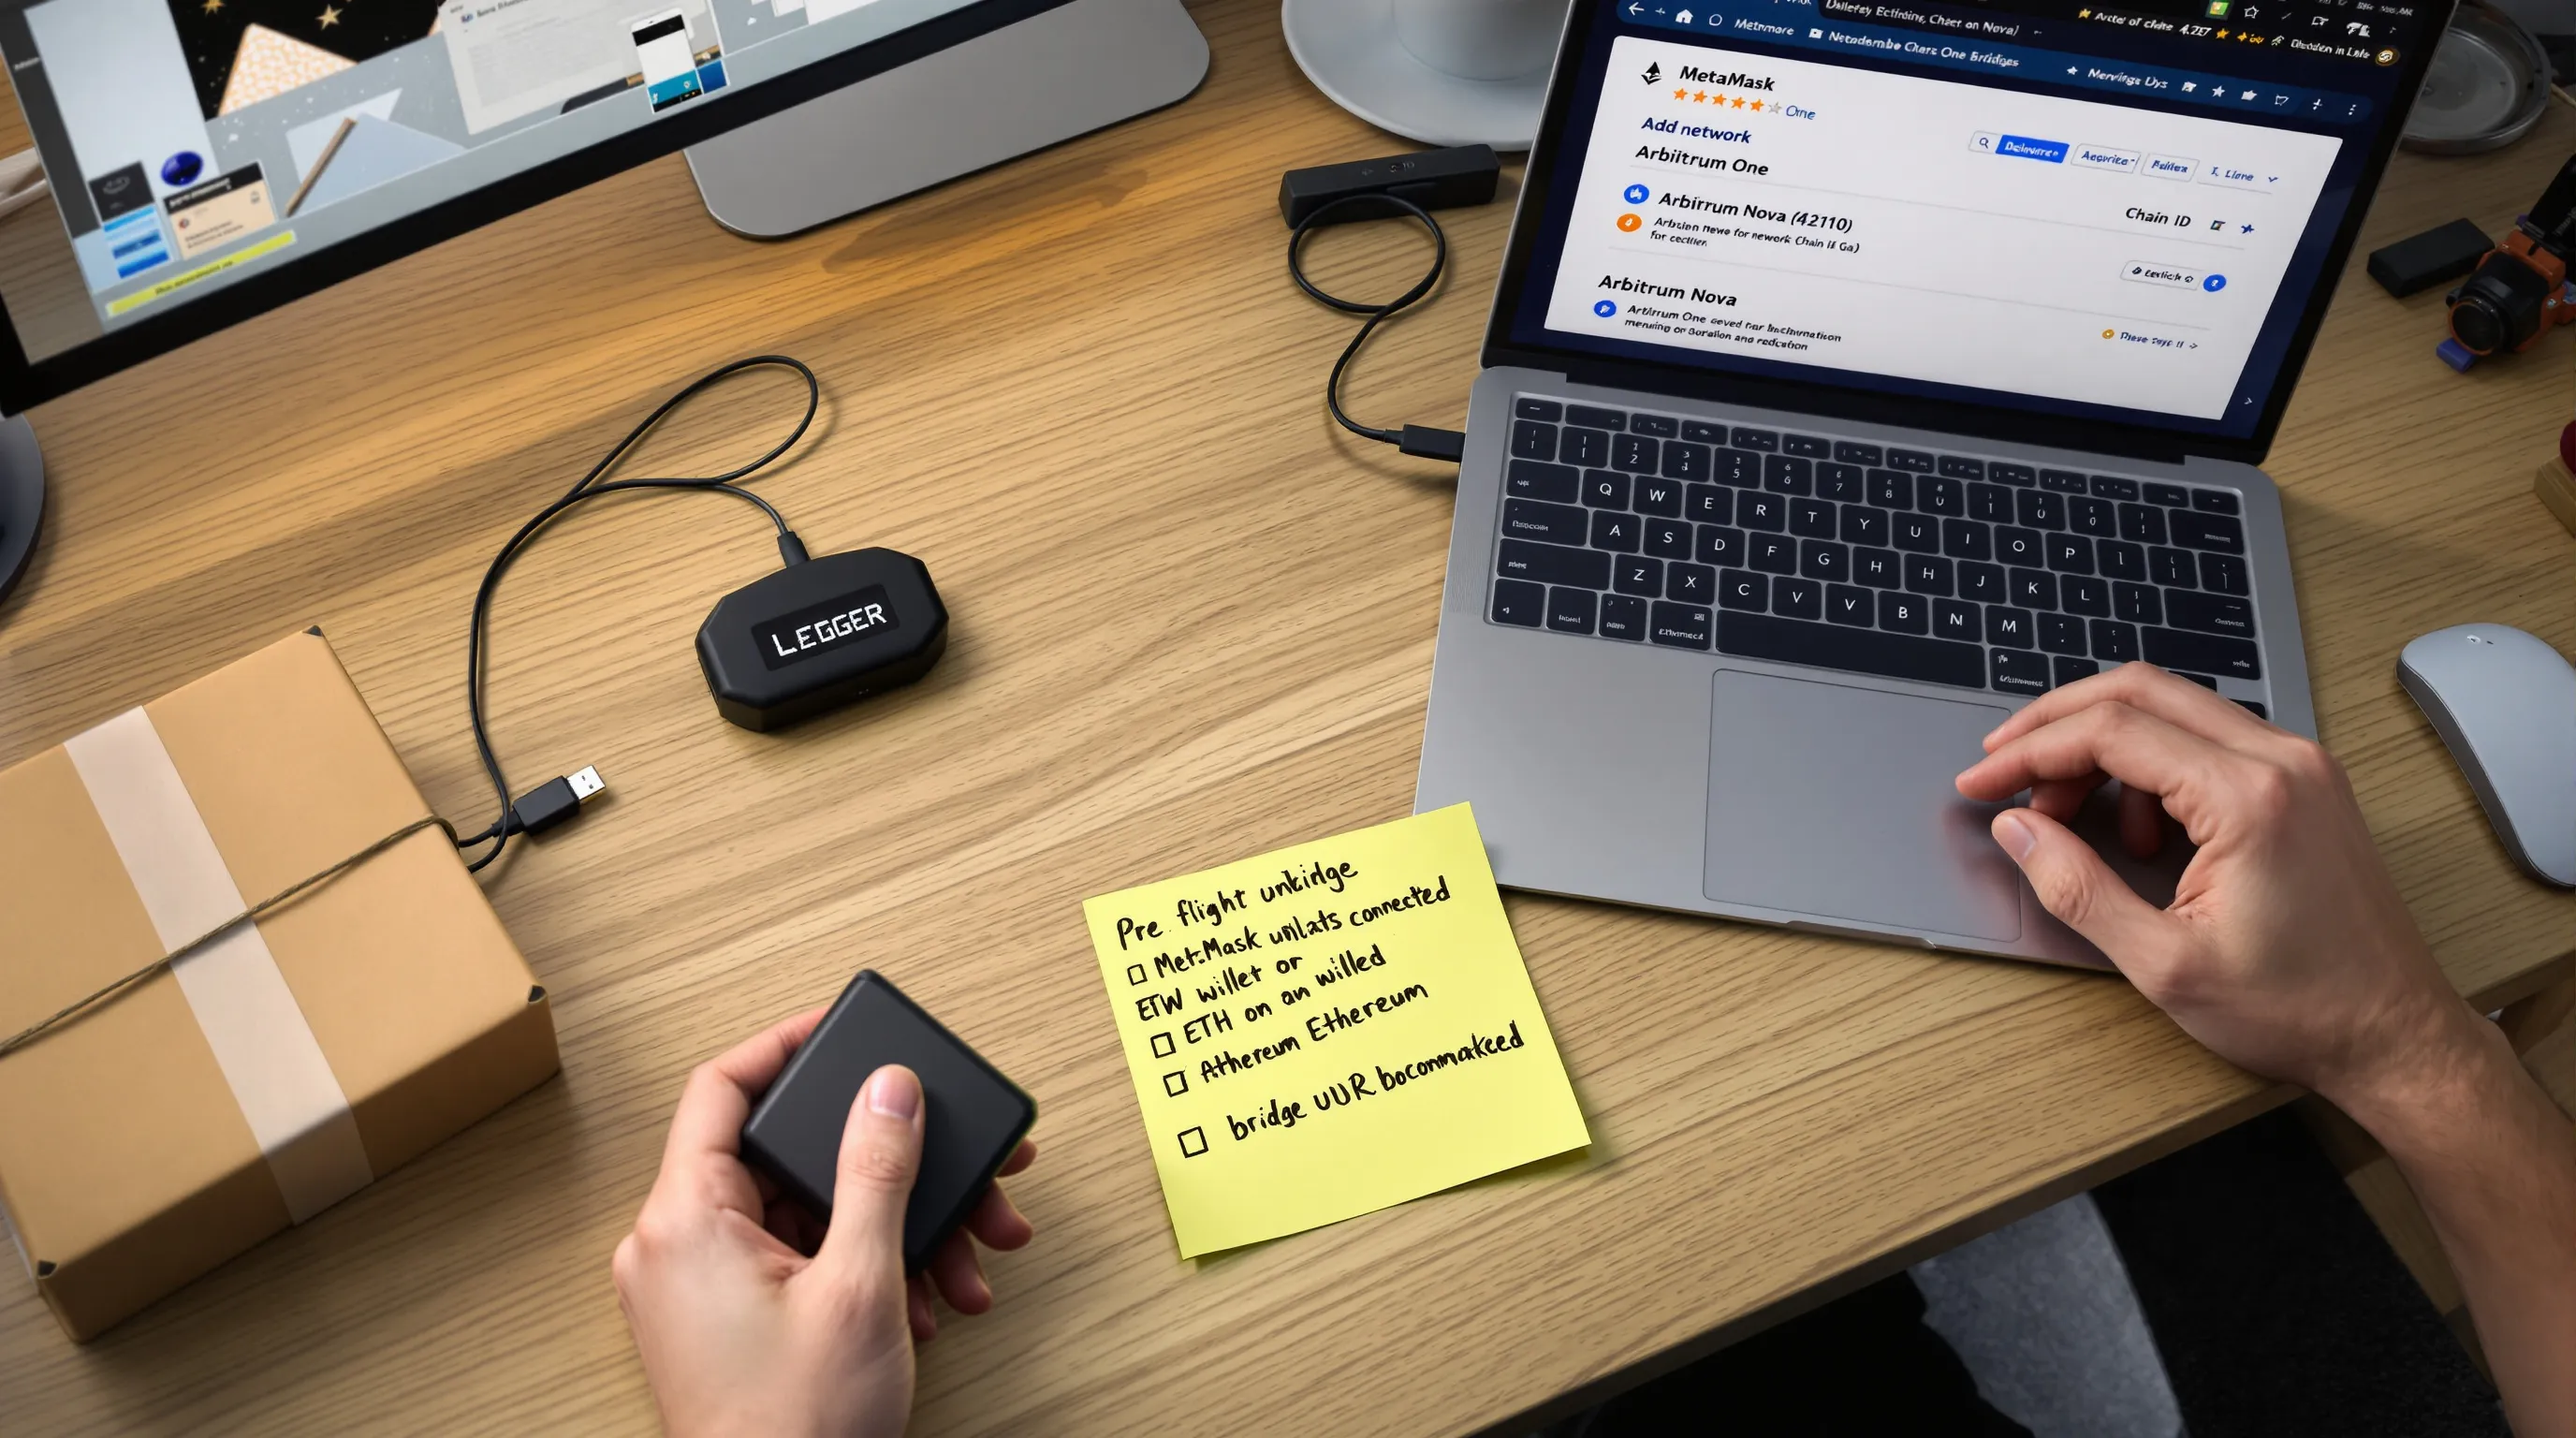
Add Arbitrum One (and Nova) Networks to Your Wallet
- In MetaMask: Settings → Networks → Add network → Search “Arbitrum One” and “Arbitrum Nova,” or add via chainlists. Verify RPC and Chain ID:
- Arbitrum One: Chain ID 42161
- Arbitrum Nova: Chain ID 42170
- After adding, you can switch networks in one click.
Fund Gas: Keep ETH on Ethereum for Approvals and Bridge Transaction
- You’ll need ETH on Ethereum to pay for approvals and the bridge transaction.
- Keep a small ETH buffer on Arbitrum too (post-bridge) for L2 gas when you start using apps.
Quick pre-flight checklist:
- MetaMask installed and unlocked
- Hardware wallet connected (if using)
- Arbitrum One/Nova networks added
- ETH on Ethereum for gas and bridging
- Official bridge/fast bridge URL bookmarked
Choose the Right Bridge for Your Assets, Size, and Speed Needs
Different bridges optimize for security model, speed, fees, and token support. Match the tool to your transfer.
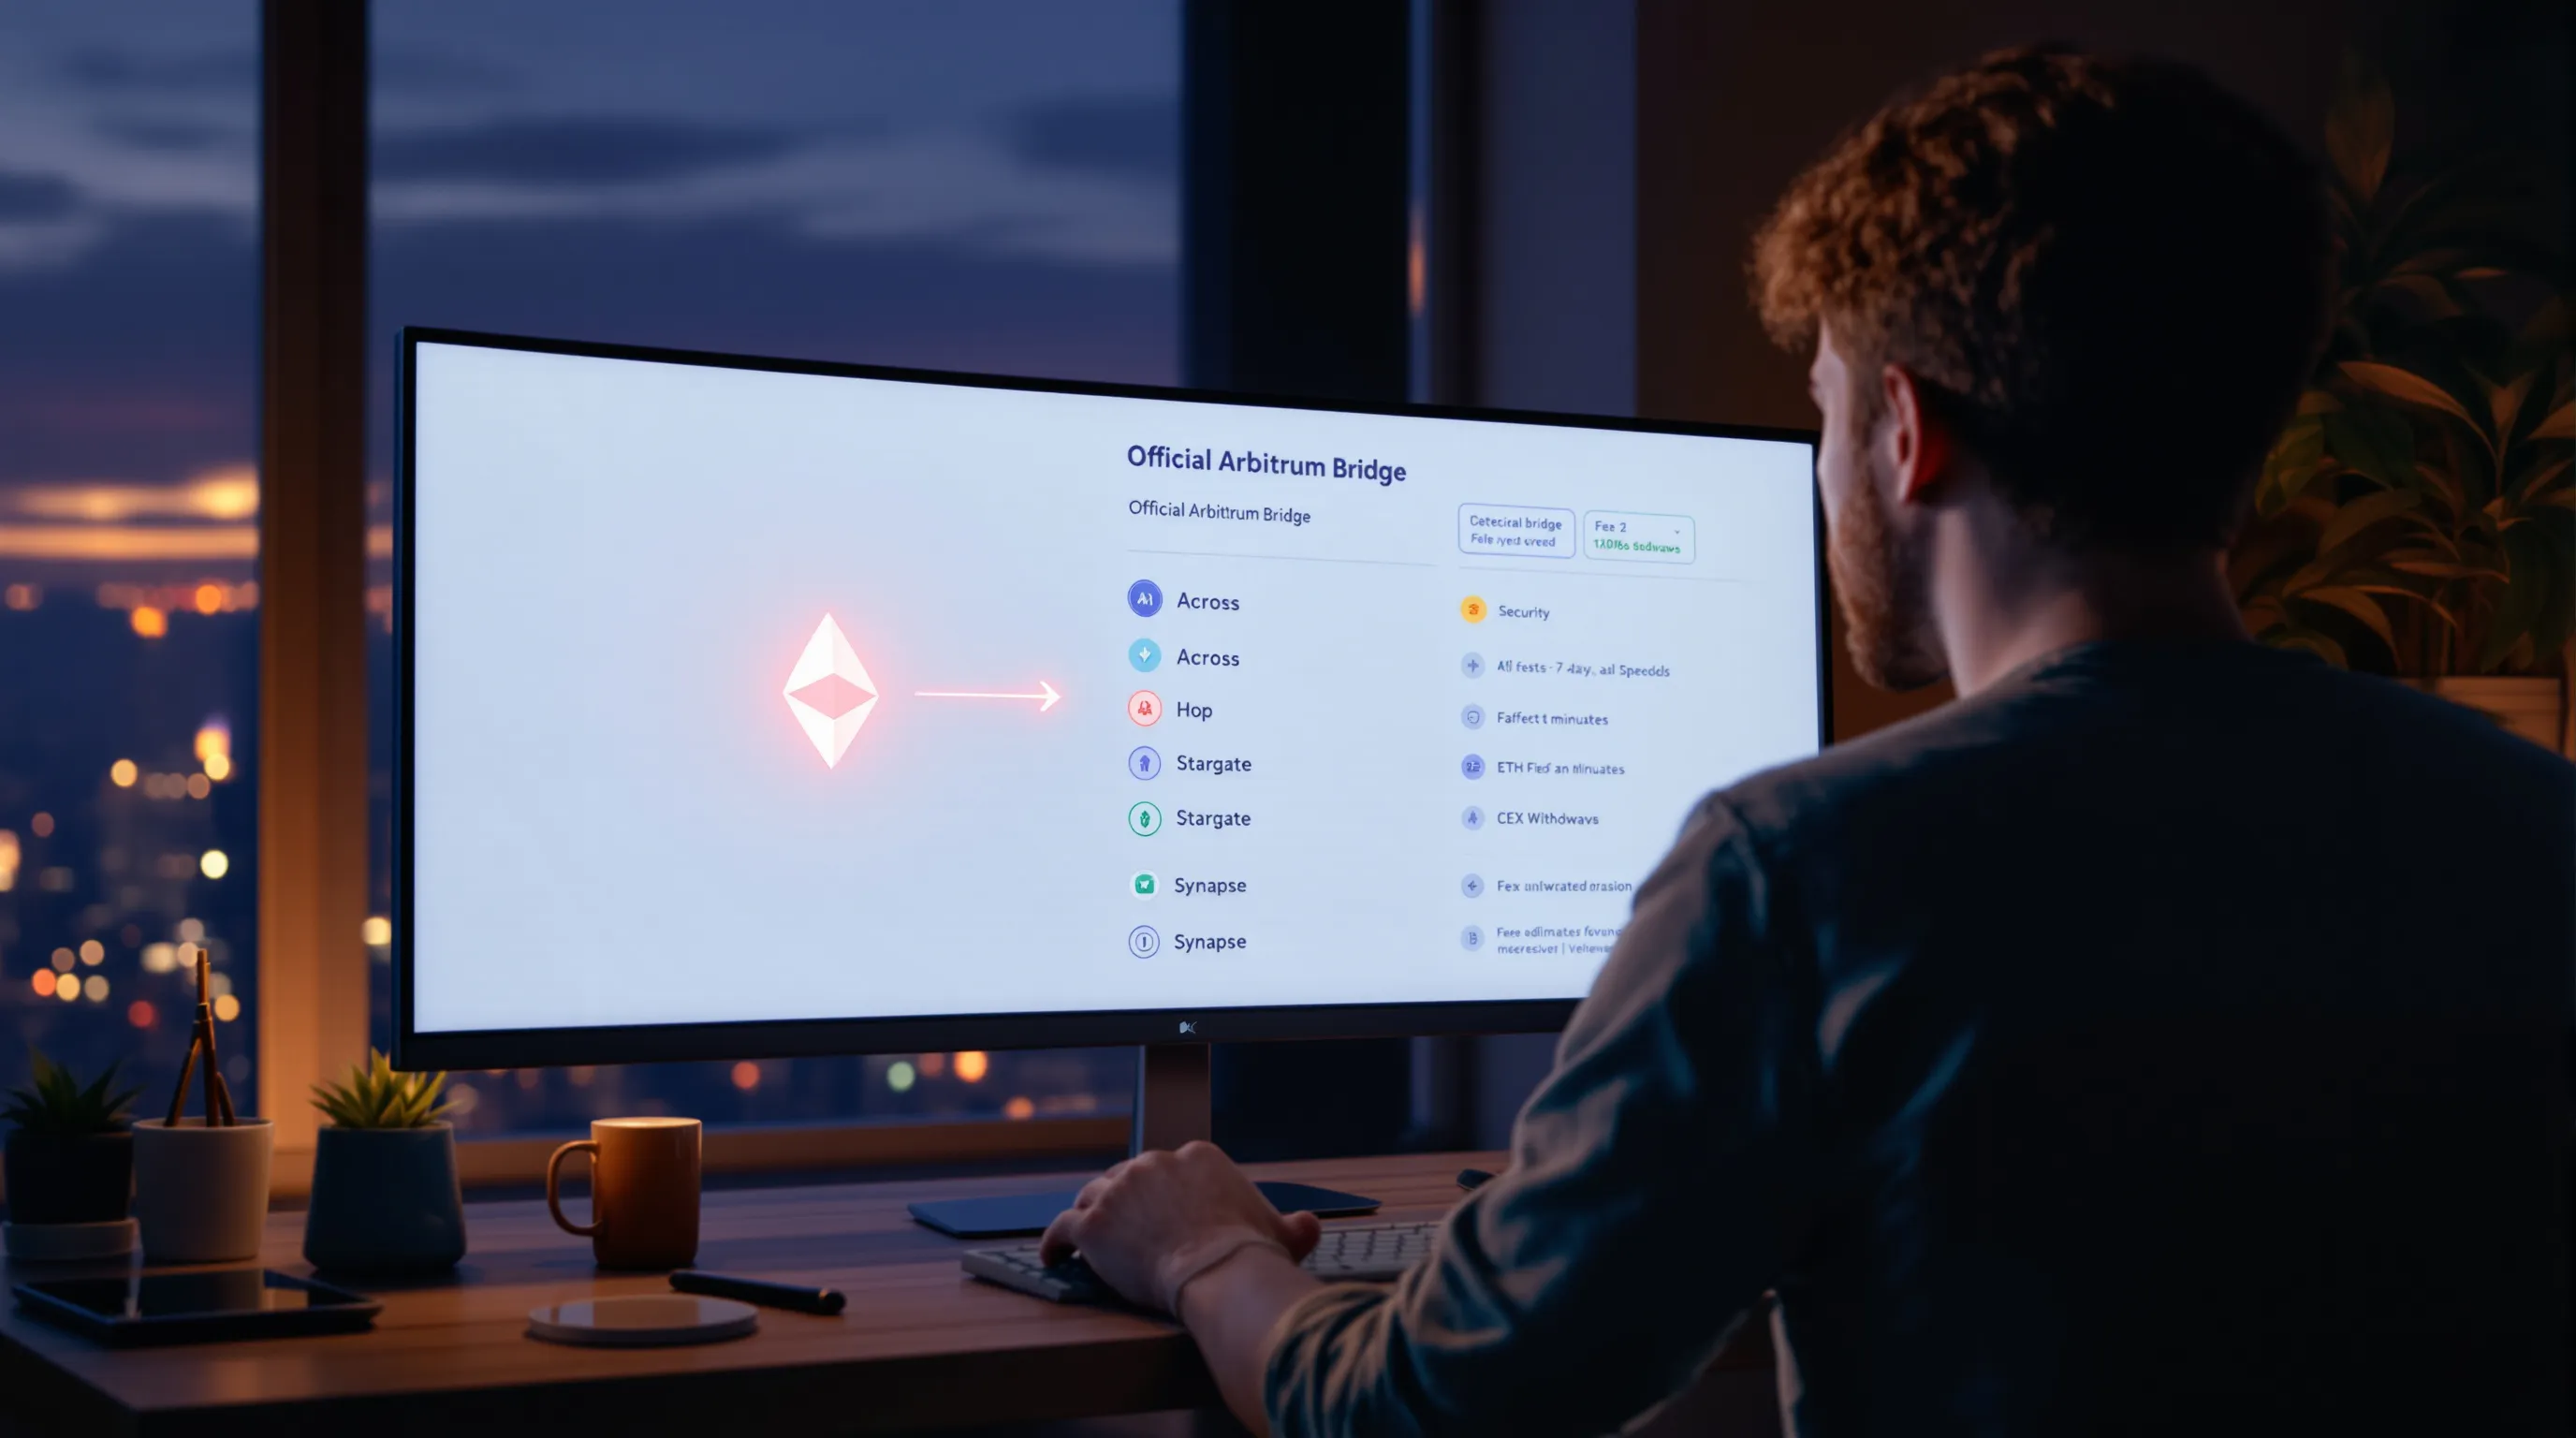
When to Use the Official Arbitrum Bridge
- Best for: ETH, canonical tokens, and safety-first deposits from Ethereum to Arbitrum One/Nova.
- Pros: Simple UI, aligned with Arbitrum’s canonical bridge contracts.
- Cons: Withdrawals to Ethereum take ~7 days via the official route.
Fast Bridges to Consider: Across, Hop, Stargate, Synapse
- Across: Competitive fees, fast finality, strong reputation. Often cheapest for ETH and blue-chip tokens.
- Hop: Supports multiple L2s, decent liquidity for common assets.
- Stargate: Good for stablecoins (USDC/USDT) with deep liquidity: uses unified liquidity pools.
- Synapse: Broad token support and multiple chains: handy for stablecoins and alt tokens.
- Trade-offs: You’re relying on third-party liquidity and relayers: costs include bridge fees and potential slippage if a swap is involved.
CEX Shortcut: Depositing Directly to Arbitrum From an Exchange
- Many exchanges (e.g., Coinbase, Binance, Kraken) let you withdraw directly to Arbitrum. It’s effectively a “bridge” handled by the exchange.
- Pros: One step, predictable cost.
- Cons: Custodial risk, limited token support, and potential fees/spreads.
- Tip: Double-check the network selection is “Arbitrum One” (or Nova, if supported) before confirming the withdrawal.
Price Out Costs, Timing, and Approvals Before You Click
Going in blind is how you overpay. Spend 60 seconds estimating the all-in cost.
Estimate Gas on Ethereum, Bridge Fees, and Any Liquidity/Router Fees
- Gas on Ethereum: Check live gas (gwei). Approvals + bridge send = 1–2+ transactions.
- Bridge fees: Fast bridges charge a fee spread. Compare quotes across providers for the same amount.
- Liquidity/relayer fees: Some bridges dynamically price based on pool balance and size of your transfer.
Check Token Support, Daily Limits, and Allowance Requirements
- Token support: Confirm your token is supported on the destination chain and by your chosen bridge.
- Limits: Some bridges have per-tx or daily caps: large transfers may move the market or incur higher fees.
- Allowances: ERC-20s require an approval tx. You can set a custom spend limit rather than “infinite.”
Reduce Costs: Off-Peak Hours, Layered Approvals, and Test Amounts
- Bridge during off-peak hours (late nights/early mornings US time) when gas is cheaper.
- Batch strategy: Approve once with a precise limit: avoid re-approvals.
- Always send a small test first to validate routing and UI.
Slippage warning:
- If your bridge path includes a swap (common on fast bridges or when moving stables), set a reasonable slippage tolerance. High slippage can materially reduce received tokens during volatility. For large transfers, split into tranches to minimize price impact.
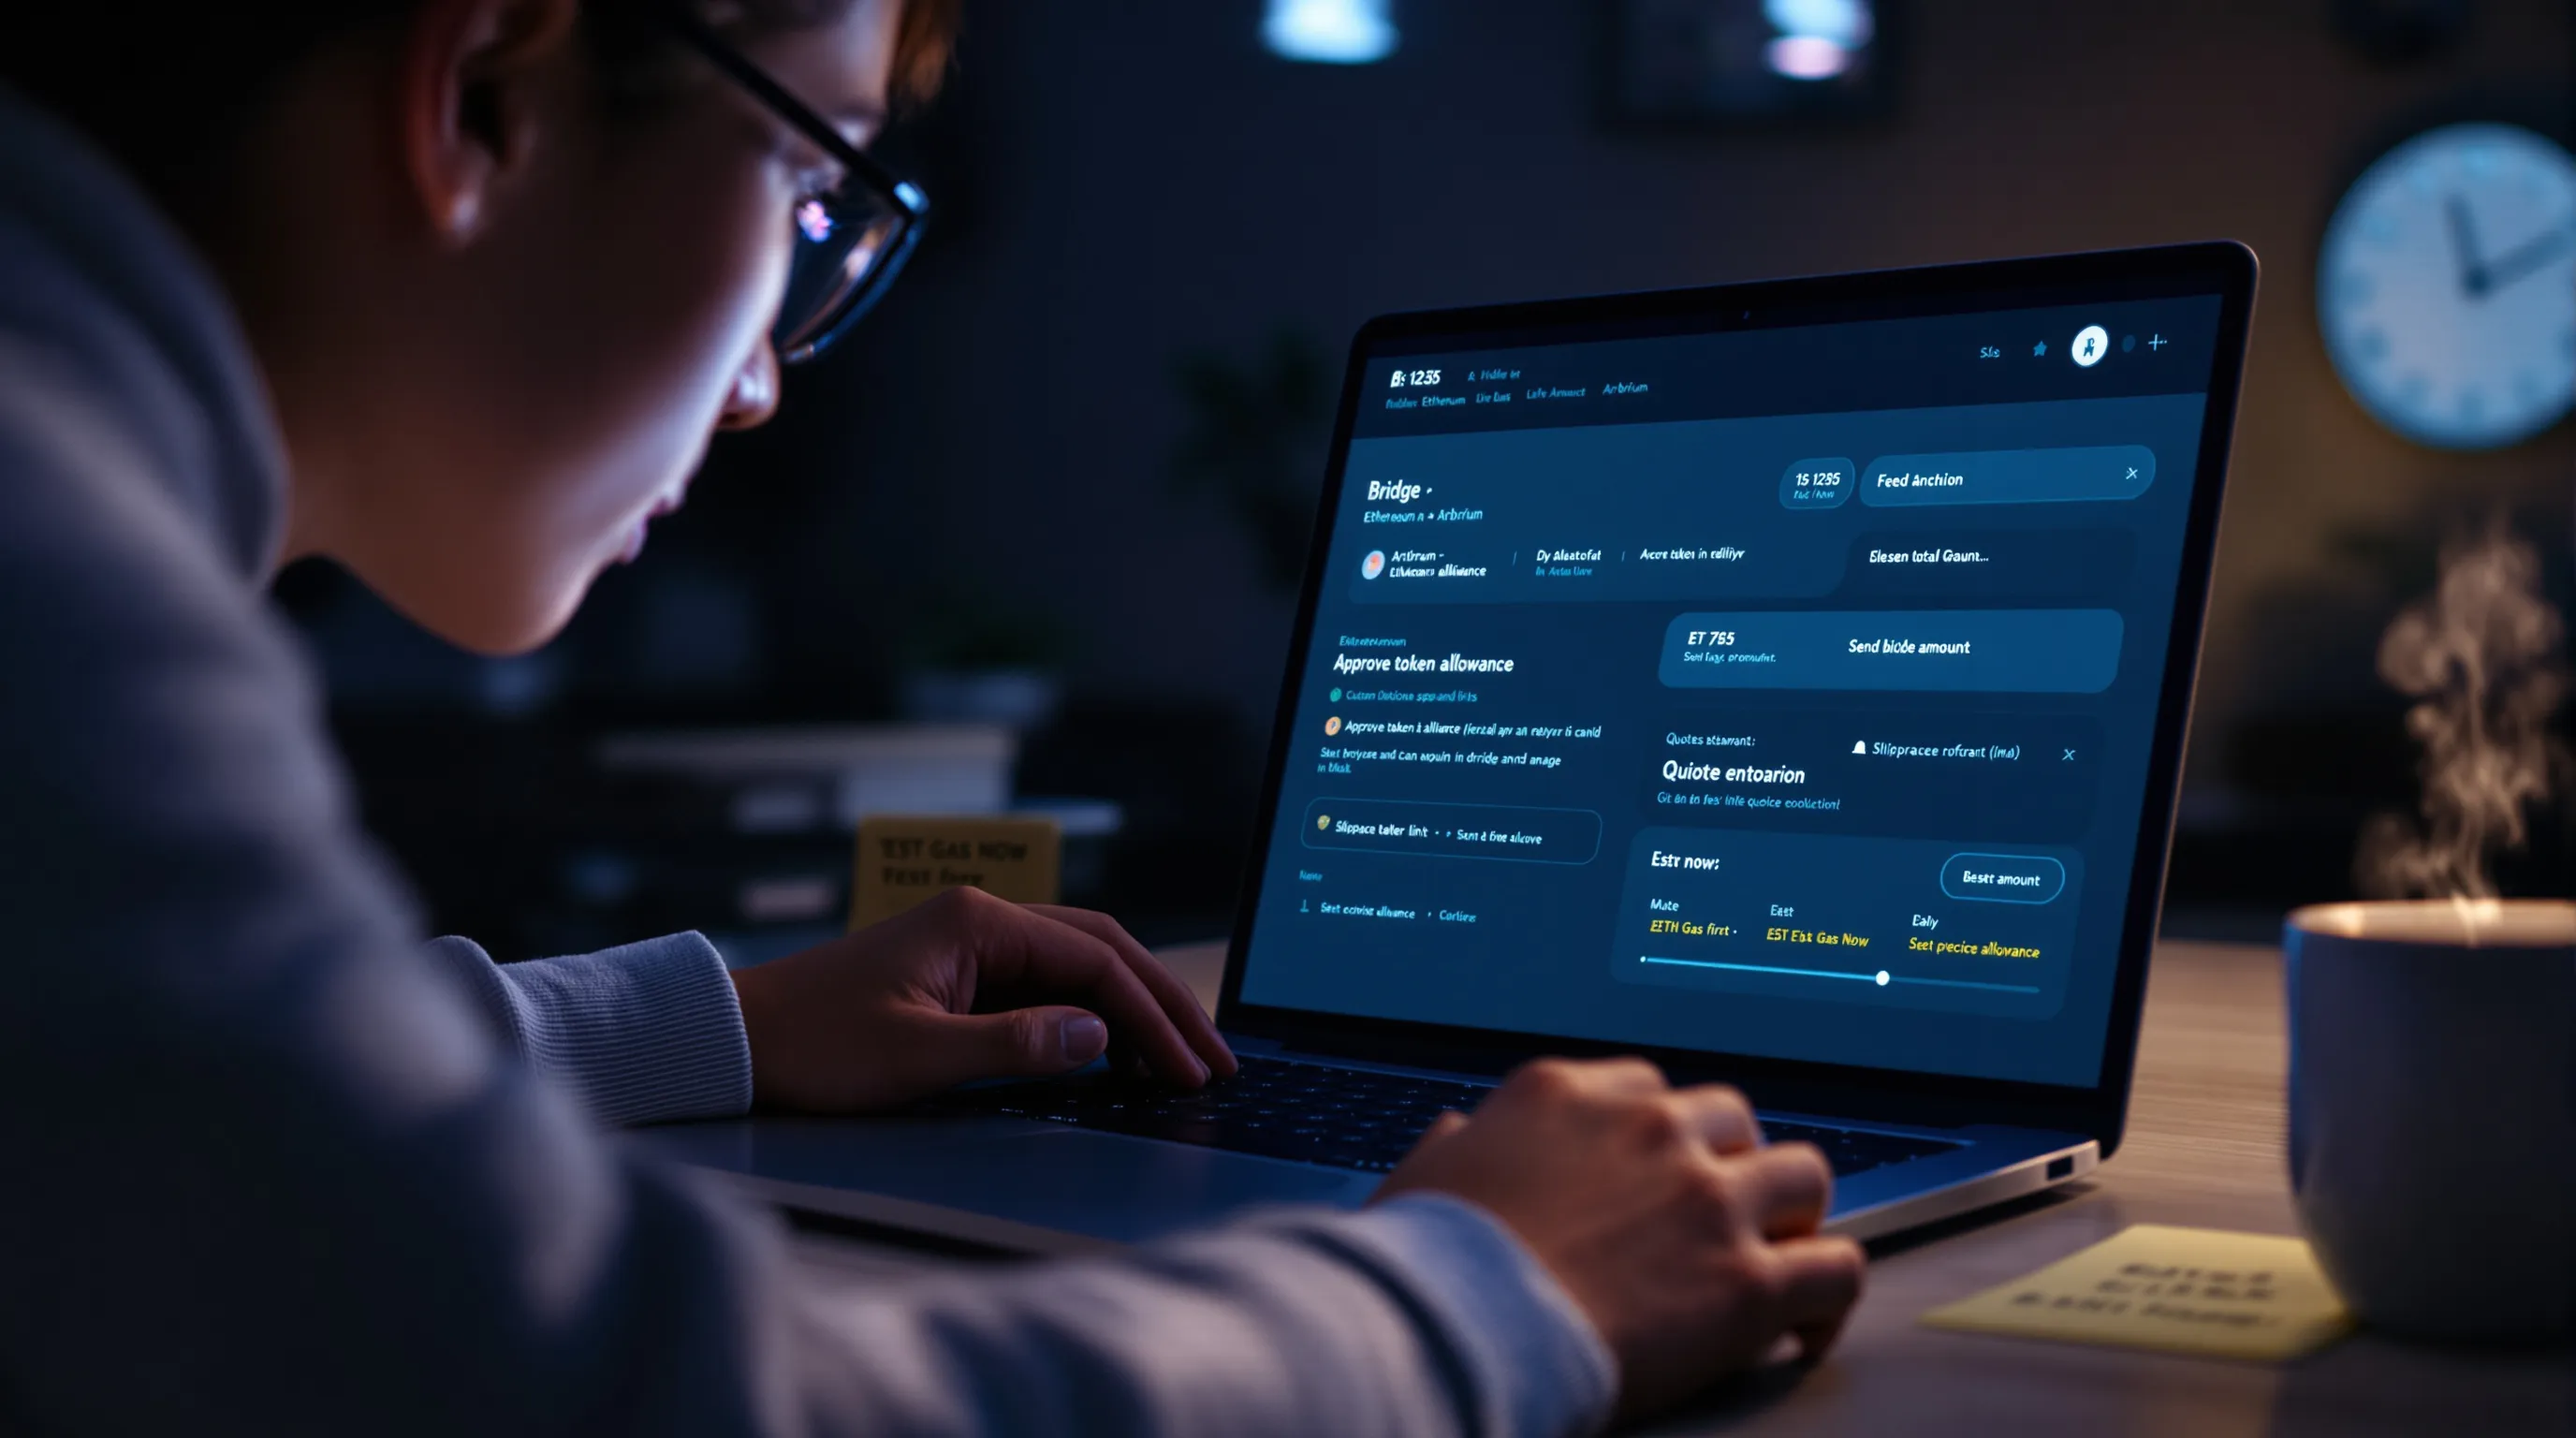
Bridge From Ethereum to Arbitrum: Click-By-Click Walkthrough
Here’s a clean, repeatable process that works across most reputable bridges.
Select Asset and Amount (Start Small to Test)
- Open the bridge UI (official Arbitrum Bridge, Across, etc.).
- Connect your wallet and ensure network is Ethereum.
- Choose destination: Arbitrum One (or Nova if that’s your target).
- Select token and enter a small test amount first (e.g., $10–$50).
Approve Token Spend (If Bridging ERC-20)
- For ERC-20s, click Approve and confirm in MetaMask.
- Set a custom spend limit equal to your intended bridge amount + buffer.
- Wait for the approval to confirm on Ethereum.
Confirm the Bridge Transaction on Ethereum
- Review the quote: received amount, fees, estimated arrival time.
- Confirm the bridge/swap tx in MetaMask. Use a gas setting that matches current network conditions.
Wait for Confirmations: Track Progress on the Bridge UI/Explorer
- Most UIs show a progress bar and a link to Etherscan and the destination explorer.
- Don’t navigate away until the UI confirms completion or provides an explorer link.
Verify Funds on Arbitrum and Make Tokens Visible
- After confirmation, switch MetaMask to Arbitrum and check balances.
- If tokens don’t display, add the token contract (details below) and refresh.
Step-by-step checklist:
- Open trusted bridge URL and connect wallet
- Network set to Ethereum (source) and Arbitrum One/Nova (destination)
- Enter small test amount and review fees/ETA
- If ERC-20: Approve with custom limit → wait confirm
- Confirm bridge transaction → wait for on-chain confirms
- Switch wallet to Arbitrum → verify receipt
- Add custom token if missing → confirm on Arbiscan
- Repeat with full amount or split into tranches for size/volatility
Slippage warning (during bridging with swaps):
- If the bridge path includes a swap (e.g., USDC.e to native USDC, or alt tokens), set slippage conservatively (0.1%–0.5% for stables, higher only if needed). During volatility, increase patience, not slippage.
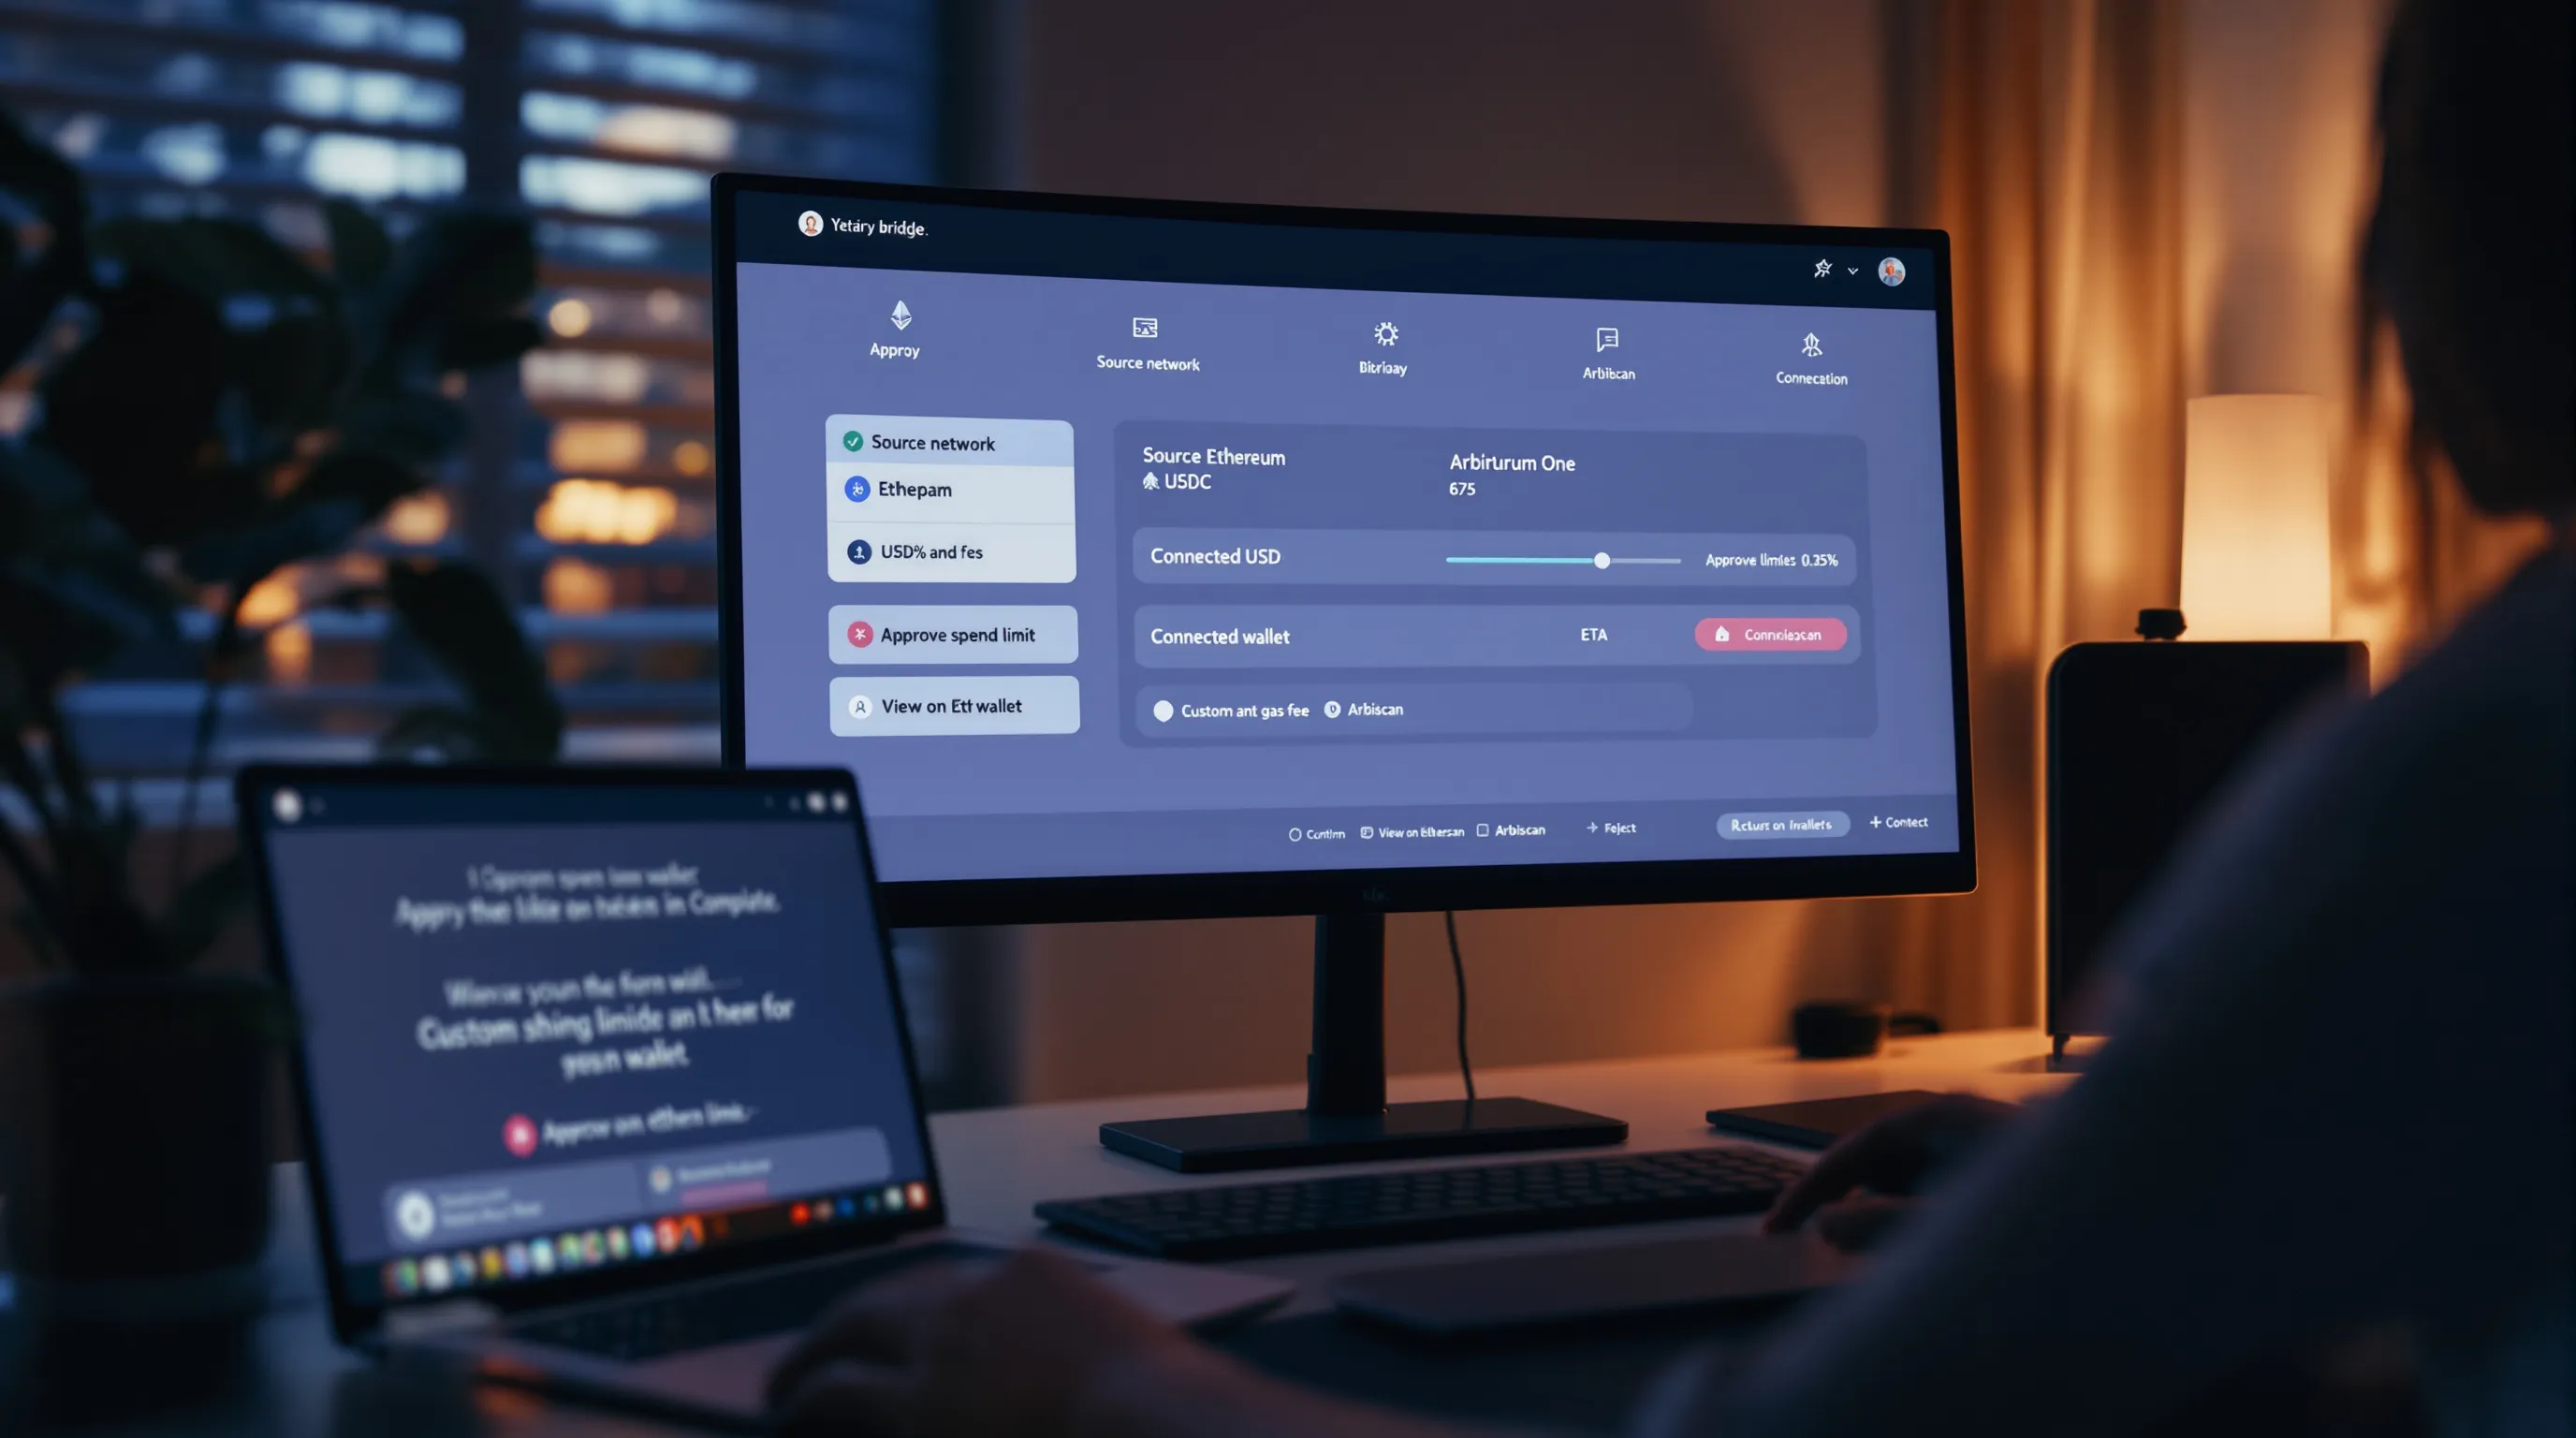
Verify Receipt and Make Tokens Visible on Arbitrum
Verification avoids false assumptions and prevents mistaken trades.
Switch Network to Arbitrum and Refresh Balances
- In MetaMask, switch to Arbitrum One (or Nova). Wait a few seconds for balances to refresh.
- If nothing shows, lock/unlock MetaMask or reload the page.
Add Custom Token Contracts if Assets Don’t Auto-Display
- Click “Import tokens” in MetaMask and paste the token’s Arbitrum contract address.
- Find addresses via the project’s official docs or Arbiscan’s verified token page. Double-check the symbol/decimals.
Cross-Check on Arbiscan and the Bridge Explorer
- Search your wallet on Arbiscan (Arbitrum One or Nova). Confirm the incoming transfer or mint event.
- Use the bridge’s explorer link (if provided) to see the transaction status across chains.
- Keep the tx hashes. You’ll want them for support or tax records.
Put Your Funds to Work on Arbitrum (and Plan Your Exit)
Once funds land, put them to productive use with an exit plan.
Swap and Route Efficiently: Use Aggregators (e.g., 1inch, Matcha)
- Aggregators scan multiple DEXs for the best price and route. You’ll usually save versus swapping on a single DEX.
- Compare quotes and gas, then set slippage appropriate to your asset’s liquidity.
- For size, consider TWAP or splitting orders.
Slippage warning for swaps:
- On volatile or illiquid tokens, wide slippage can cause major value loss. Keep slippage tight (0.1%–0.5% for stables, 0.5%–1% for majors) and raise only if a transaction repeatedly fails. Never market-buy thin tokens with high slippage.
DeFi Options: Lending, Yield, Perp DEXs, and Points Programs
- Lending/borrowing: Supply ETH/USDC on reputable markets to earn yield or lever up prudently.
- Perps: Trade on Arbitrum-native perp DEXs with tighter fees, but manage liquidation risk.
- Points/quests: Many protocols run points or rewards systems: allocate only what aligns with your risk tolerance.
Nova vs. One for Apps: Gaming, Social, and Low-Cost Microtransactions
- Use Nova for apps that prioritize ultra-low fees and high throughput (gaming/social). For DeFi depth and liquidity, stick with Arbitrum One.
Exiting Back to Ethereum: Official 7-Day Withdrawal vs. Fast Bridges
- Official bridge: Trust-minimized but requires ~7 days for L2 → L1.
- Fast bridges: Same day or minutes with a fee. For large exits, compare quotes and consider splitting size.
Track Basis and Events: Record-Keeping for Taxes
- Save tx hashes, timestamps, amounts, and fees for every bridge/swap.
- Note cost basis when you swap into new assets on Arbitrum. Good records reduce tax-season stress.
Troubleshoot Issues and Stay Safe
Things go wrong. Here’s how to fix them fast and avoid repeats.
Pending or Stuck Transactions: Speed Up, Cancel, or Re-Broadcast
- In MetaMask, use “Speed up” with a higher gas price if mempool is congested.
- If still pending and replaceable, “Cancel” with a zero-value tx at higher gas.
- As a last resort, set a custom nonce to replace a stuck tx. Ensure you understand nonce management first.
Missing Tokens in Wallet: Add Token, Correct RPC, or Check Wrong Chain
- Add the correct token contract on Arbitrum.
- Verify you’re on the right network (One vs. Nova) and using a reliable RPC.
- If you bridged to the wrong chain or wrong token variant, contact the bridge’s support and review docs for recovery options.
Approval Hygiene: Set Spend Limits and Revoke Unused Permissions
- Prefer finite approvals over infinite. After use, revoke allowances you no longer need via a trusted revoke tool.
- This limits blast radius if a dApp is compromised.
Security Practices: Hardware Wallets, Official Links, and Test Sends
- Use a hardware wallet for meaningful capital.
- Bookmark official links: avoid clicking bridge ads or DM’d URLs.
- Always do a small test send before moving size.
Slippage & price movement reminder:
- If a bridge route includes swaps or you’re using an aggregator, sudden volatility can change outputs post-quote. Recheck before confirming and avoid peak market events (Fed announcements, CPI releases, major listings).
Conclusion: Bridge Confidently and Keep Costs Low
You now know how to bridge crypto from Ethereum to Arbitrum, what to check, which bridges fit different needs, and how to verify every step on-chain. Start with a small test, use the right tool for the asset and size, set sane slippage, and avoid peak gas. Once funds arrive, deploy on Arbitrum One for DeFi depth or Nova for low-cost apps, and keep an exit plan ready. Save your tx hashes, maintain approval hygiene, and stick to official links. With this workflow, you’ll minimize fees, reduce risk, and move capital where it works hardest.
Disclaimer: This content is for informational purposes only and does not constitute financial or investment advice.